Now in year 3 of my Learning to Backcountry Ski journey, it was time to get some training!
Moved to BC. ✅
New touring set up. ✅
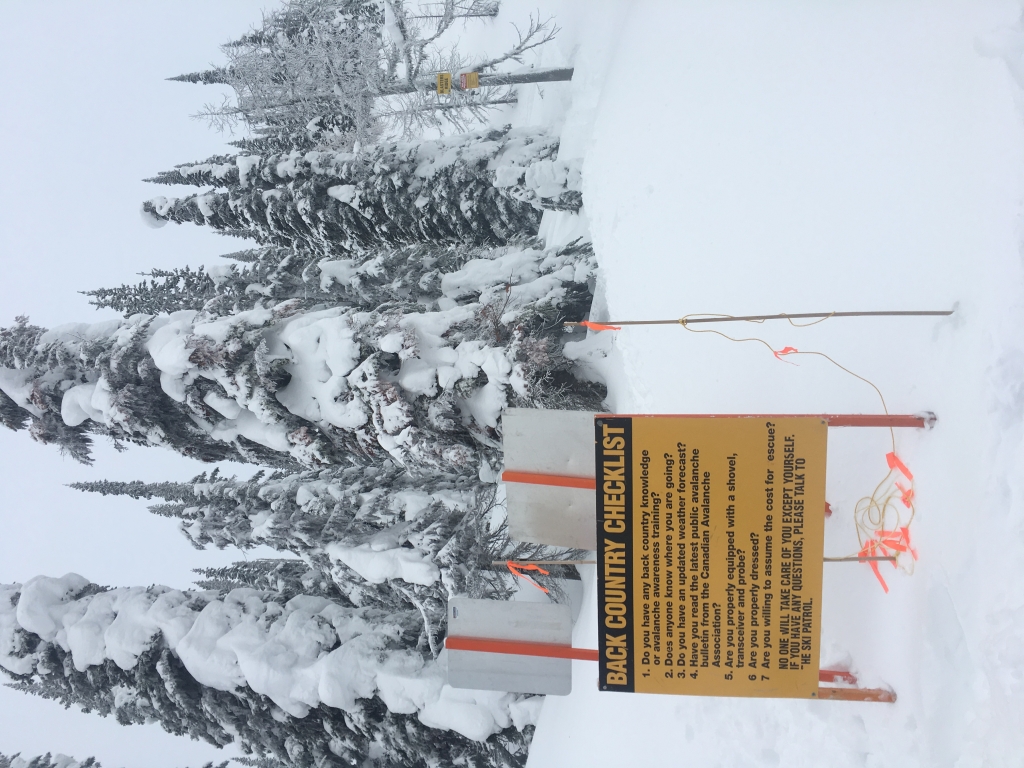
Avalanche knowledge. ⚠️
AST or Avalanche Skills Training level 1 is the place to start. With our local hill, Whitewater Ski R


Day 1 – Feb 1
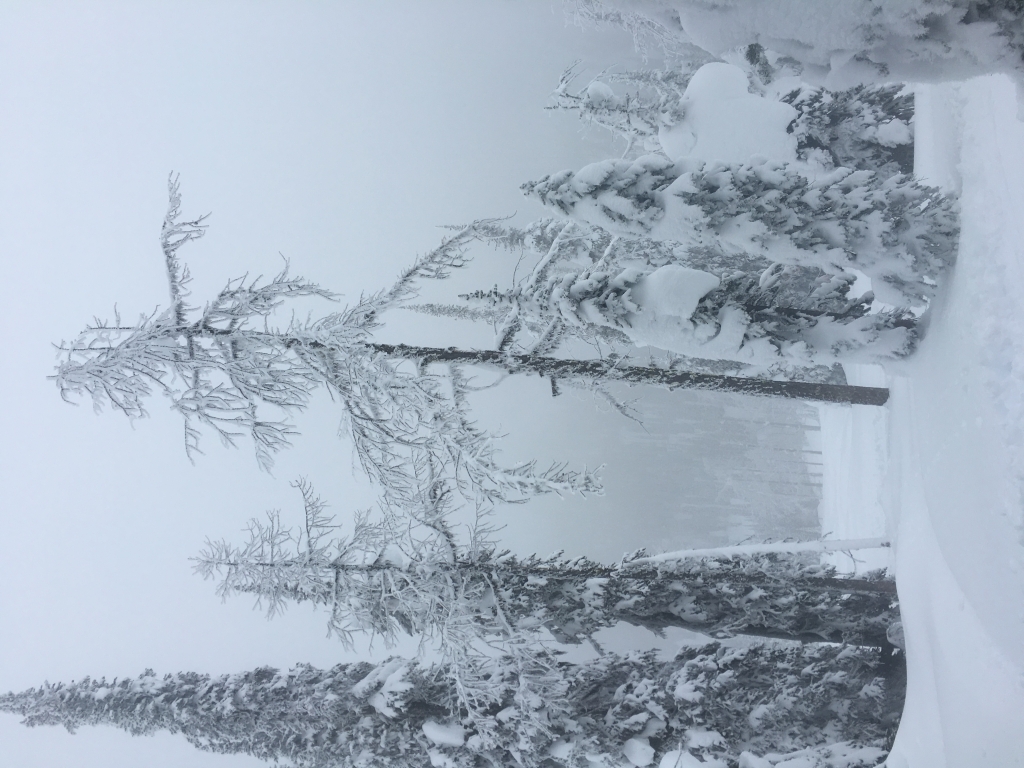
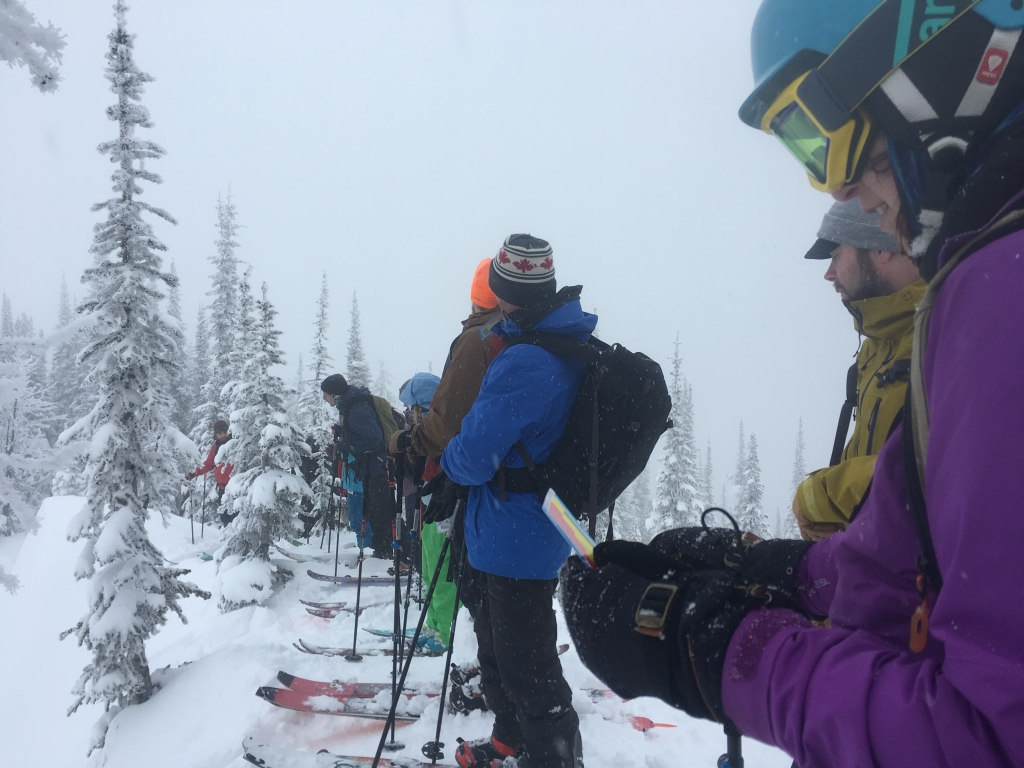
We all met at Selkirk College to begin our learning. Most outdoor courses start with an indoor session to cover the theoretical background knowledge required to be successful in the following field days. We had a mixed group; folks from all over Canada, the USA, and Australia, expert skiers as well as newer ones (like me) and mixed experience with backcountry. With one common purpose, we were all engaged and ready to learn.
Day 2 – Feb 2
Weather
Cloudy, light snow, SW < 12km/hr, -3C
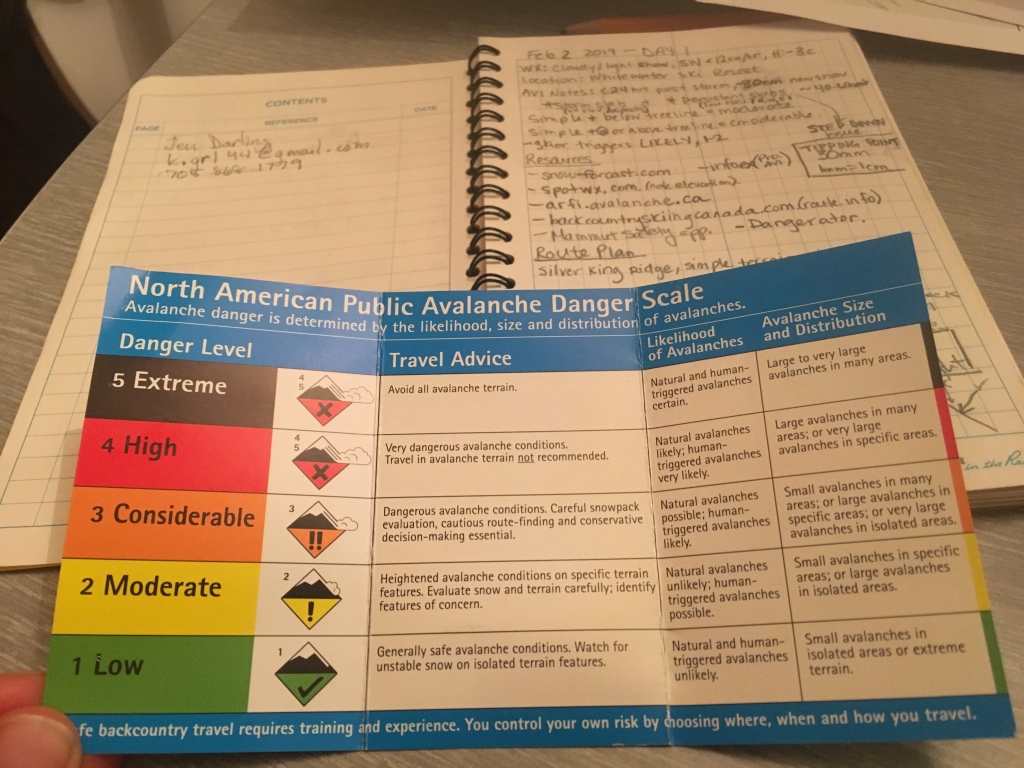
Bulletin Notes
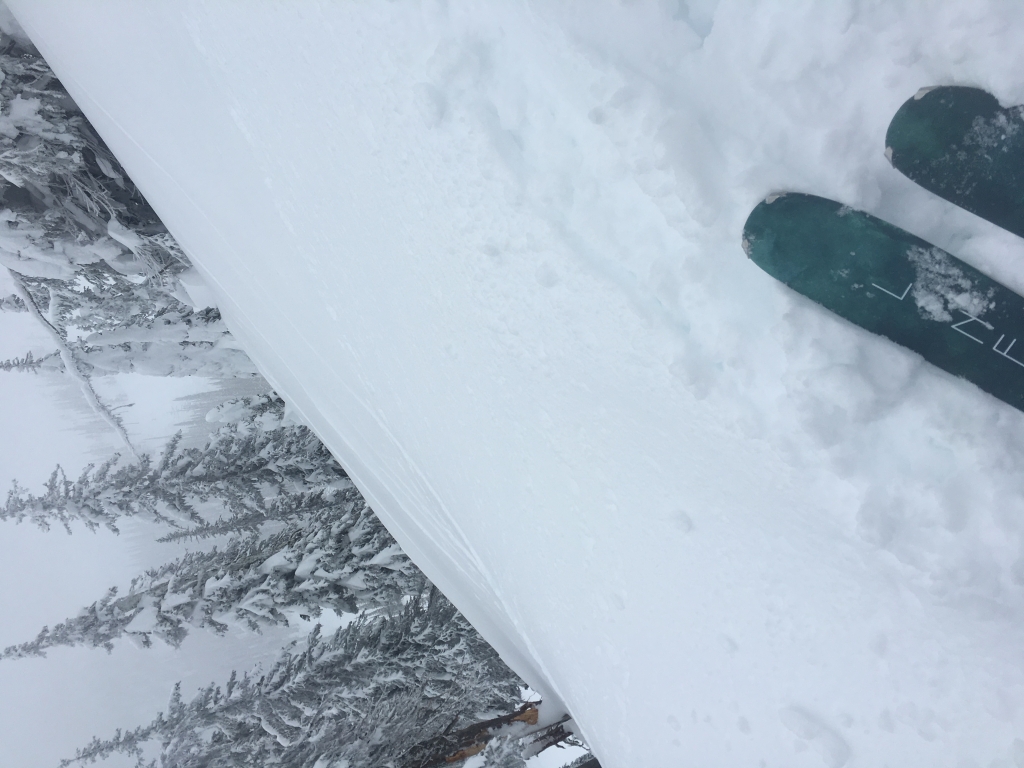
< 24 hrs post-storm, ~30 cms new snow, main concerns: storm slab (all elevations & aspects) and persistent slabs (W, N, E aspects, @tree and below), skier trigger
Simple terrain + below tree line = moderate!
Simple terrain + @ or above tree line = considerable!!
Weather & Avalanche Resources
We started the day reviewing all the available online resources for acquiring the info needed to plan a backcountry ski day.
➡️ https://www.avalanche.ca (avalanche reports form the pro’s)
➡️ https://www.snow-forecast.com/ (great weather forecast for all resorts)
➡️ http://arfi.avalanche.ca/ (google map view, weather & snowpack reports, weather cam’s)
➡️ backcountryskiingcanada.com (route info)
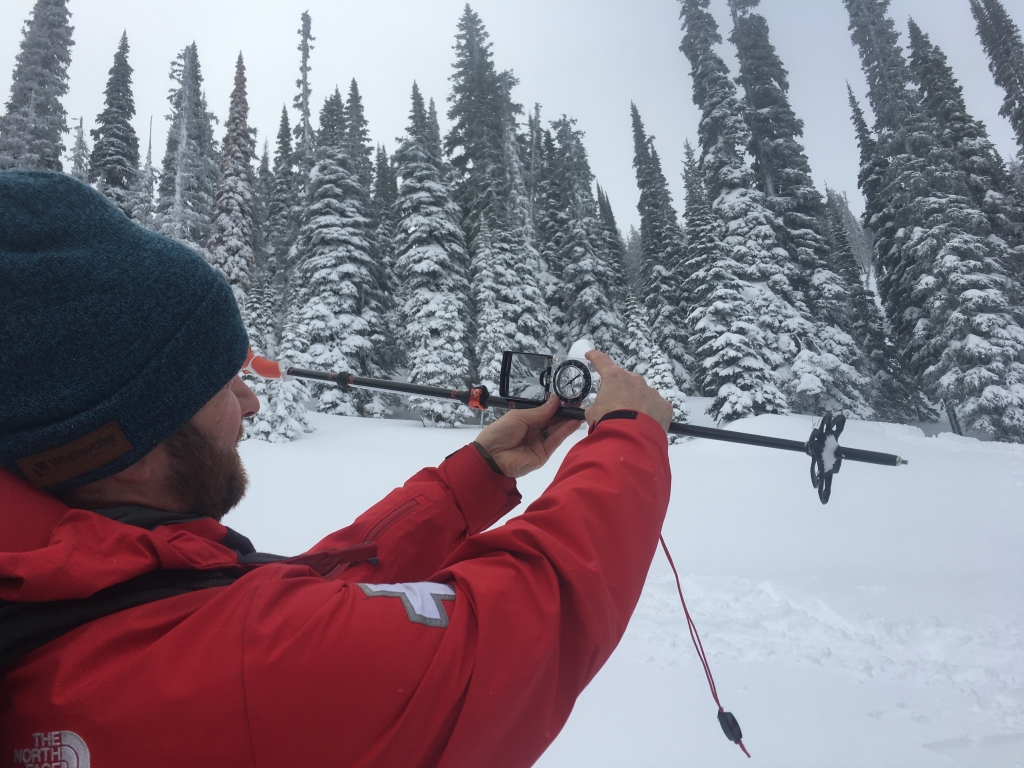
➡️ Mammut Safety App (clinometer, altimeter, compass, SMS, and more)
➡️ If you live or play in a region without an avalanche bulletin, use the
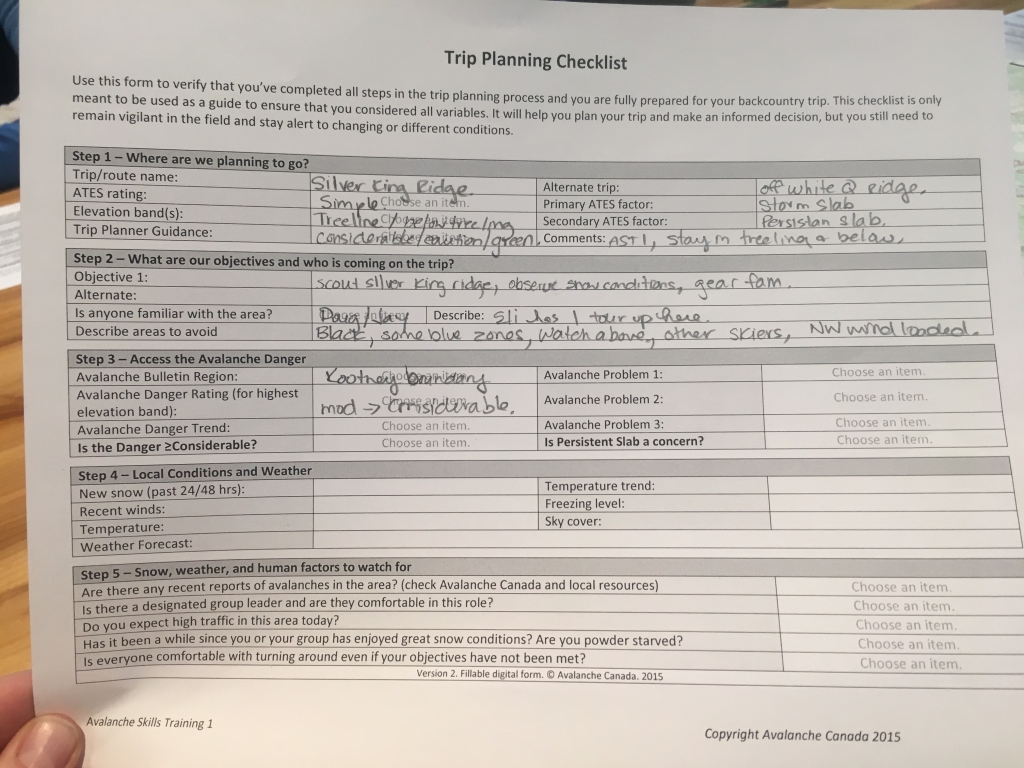
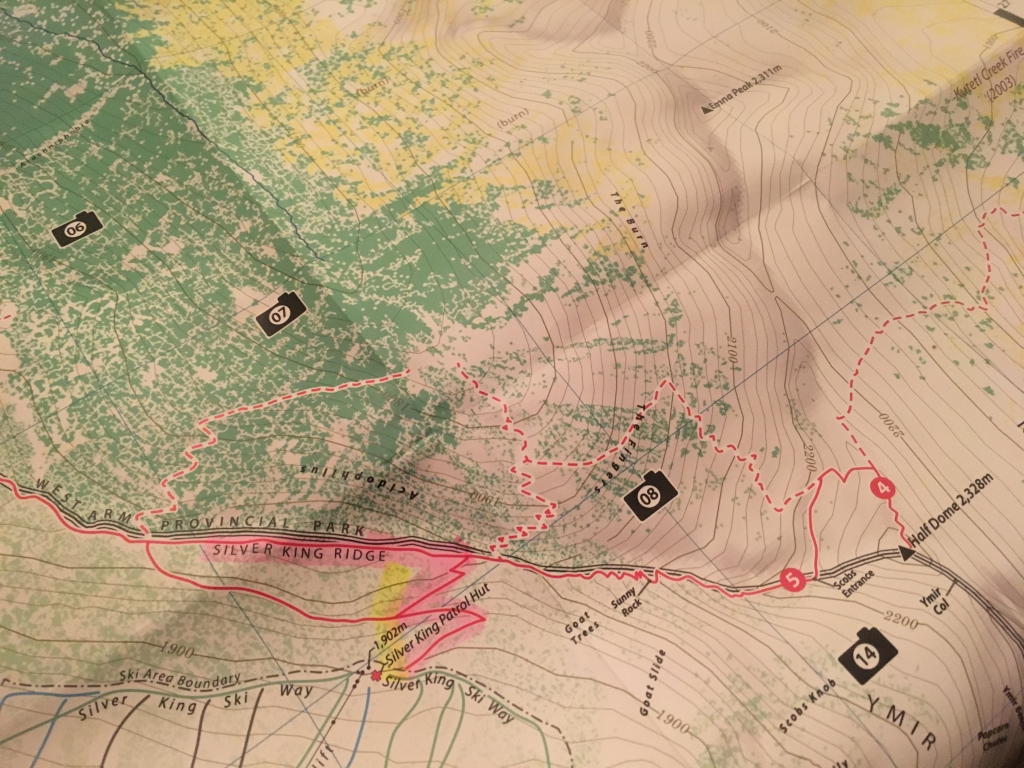
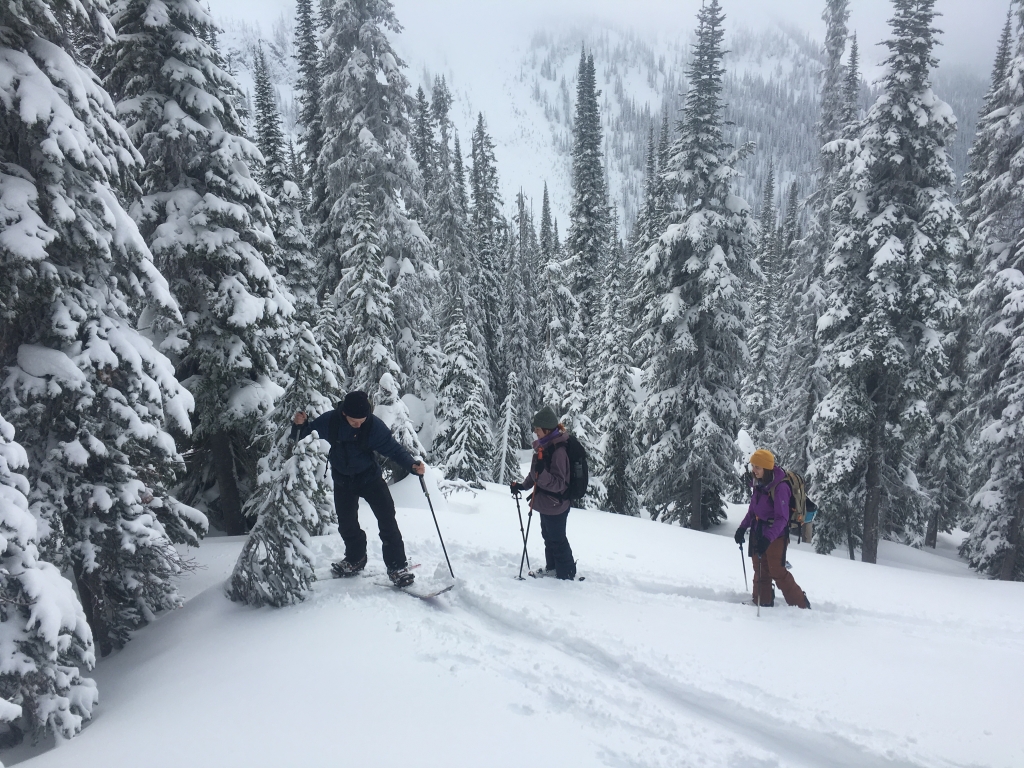
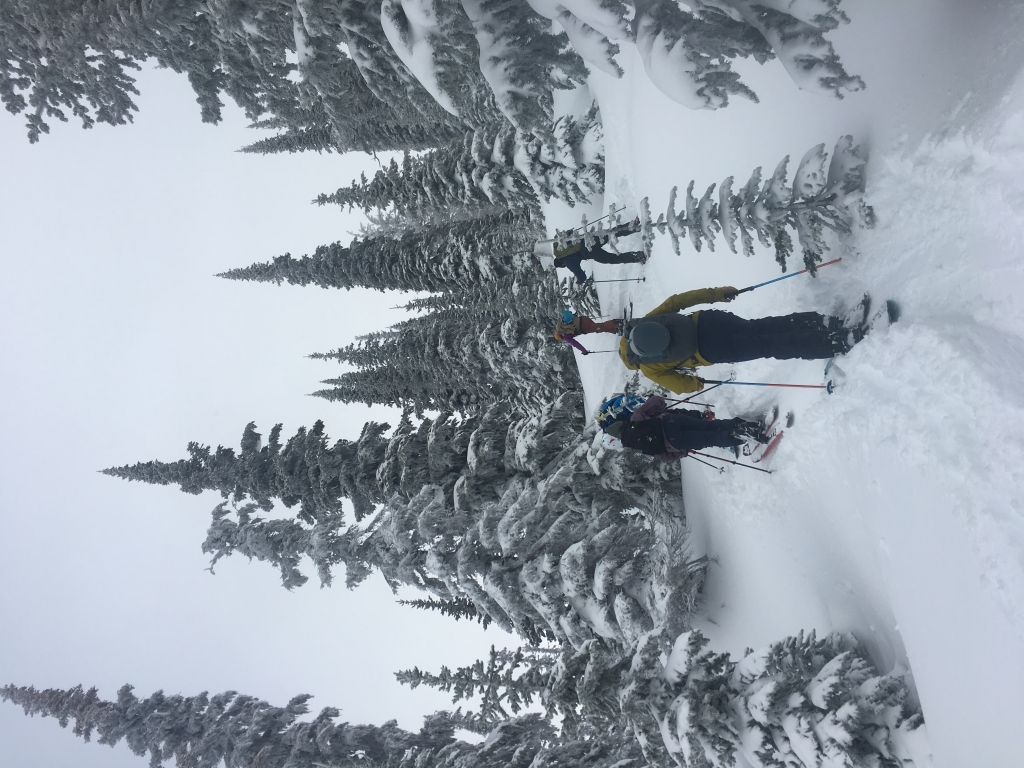
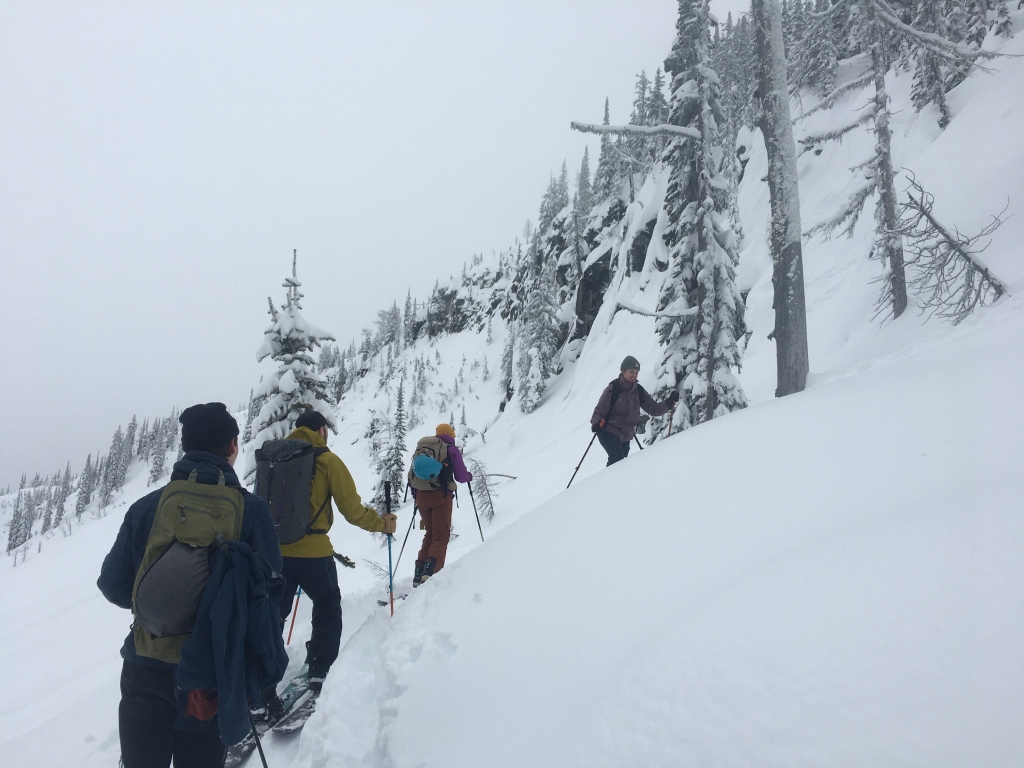
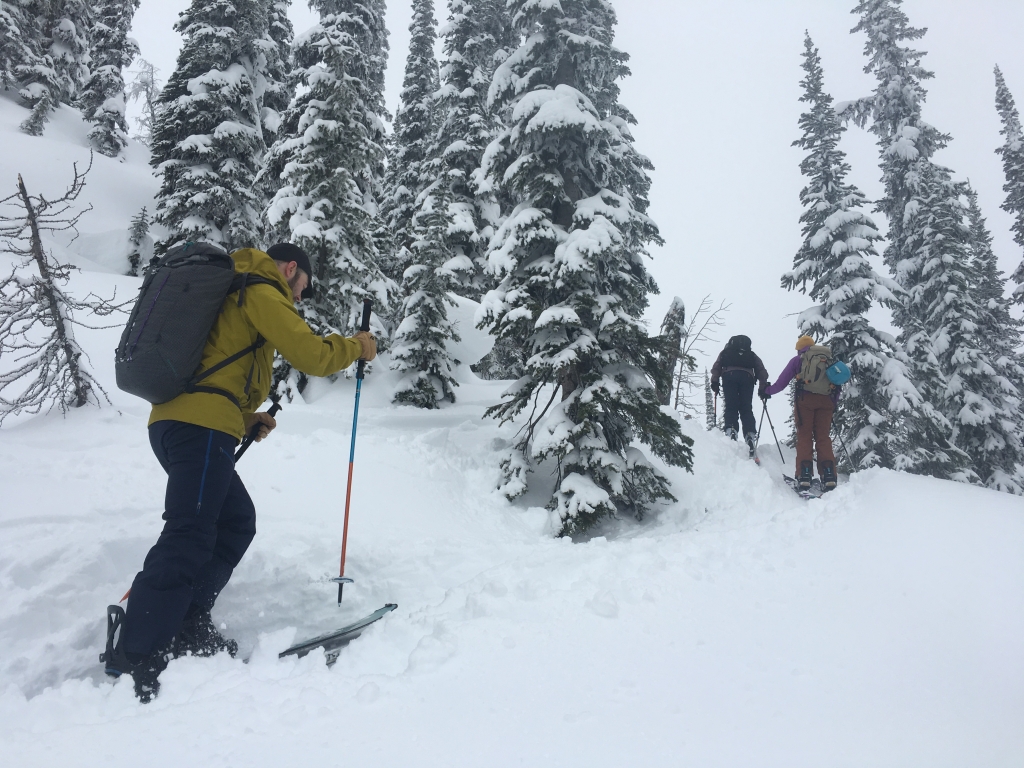
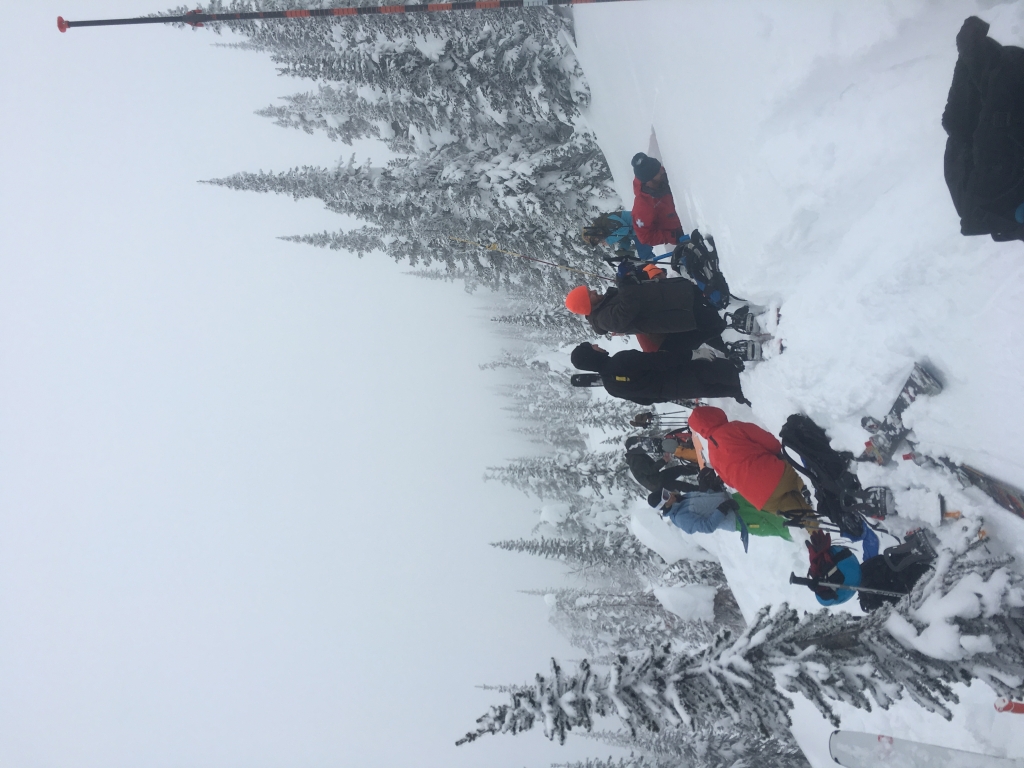
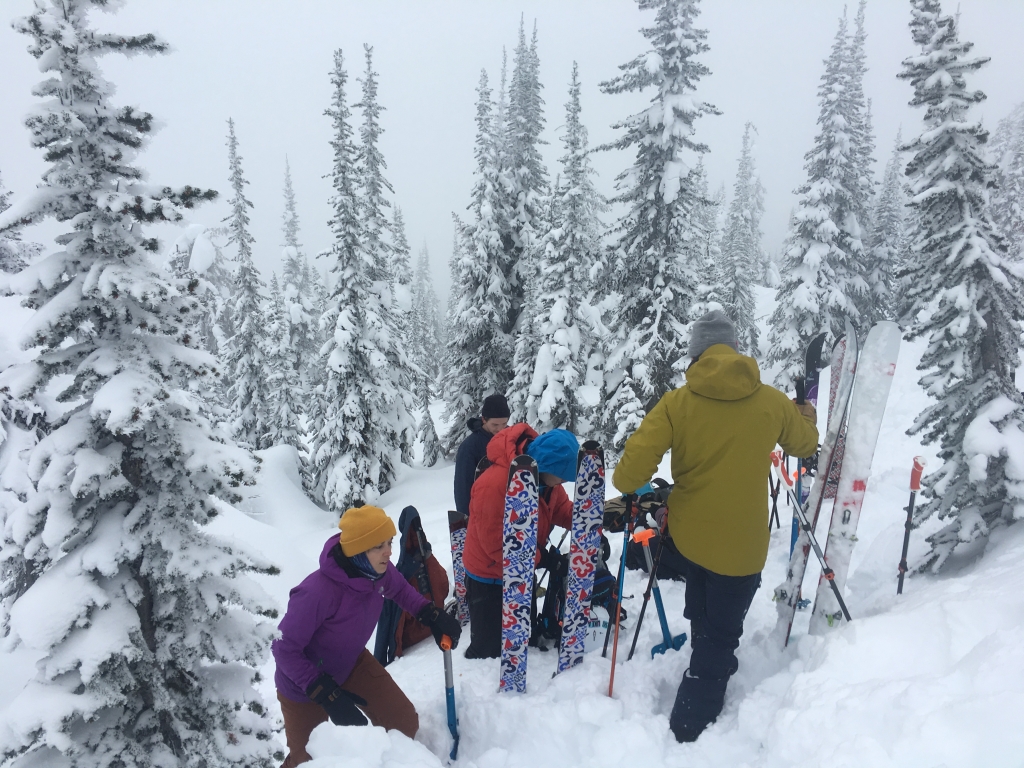
Learning to Backcountry Ski: Route Planning
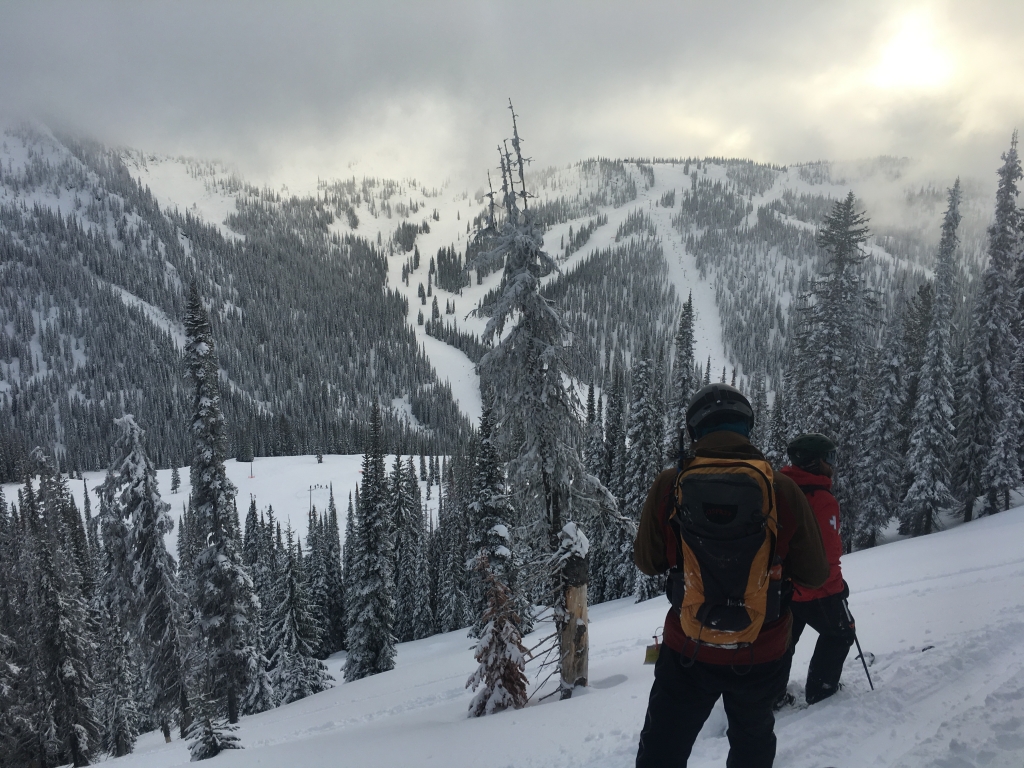
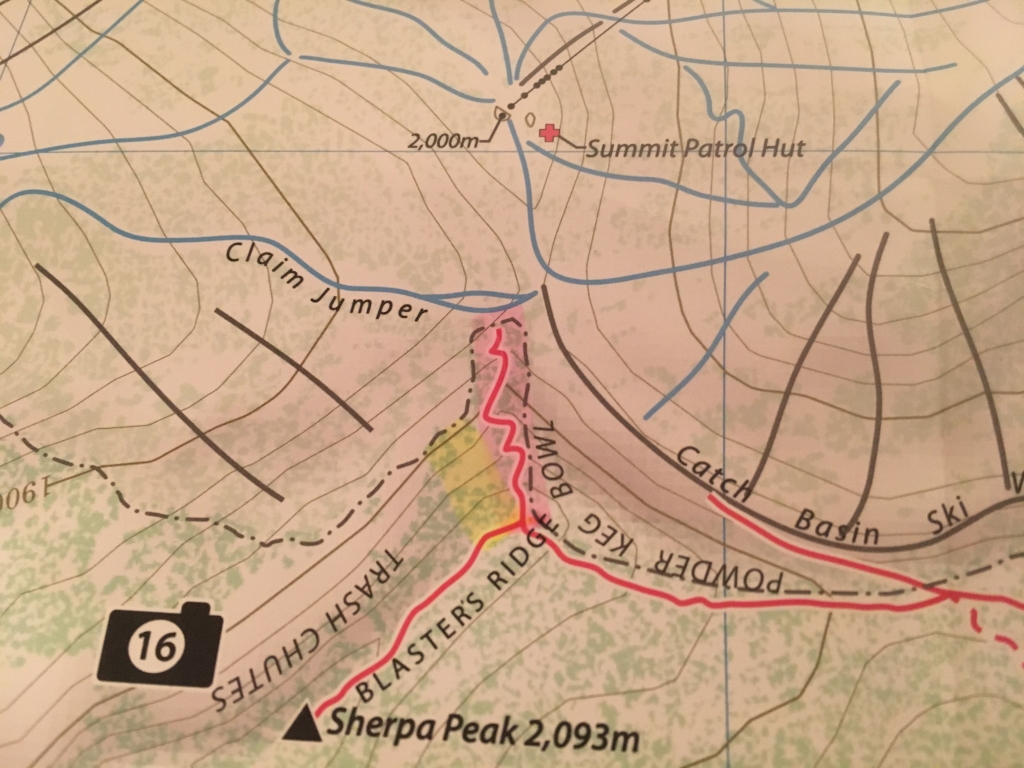
Sliver King Ridge, simple terrain, then ski down to resort
Day Notes
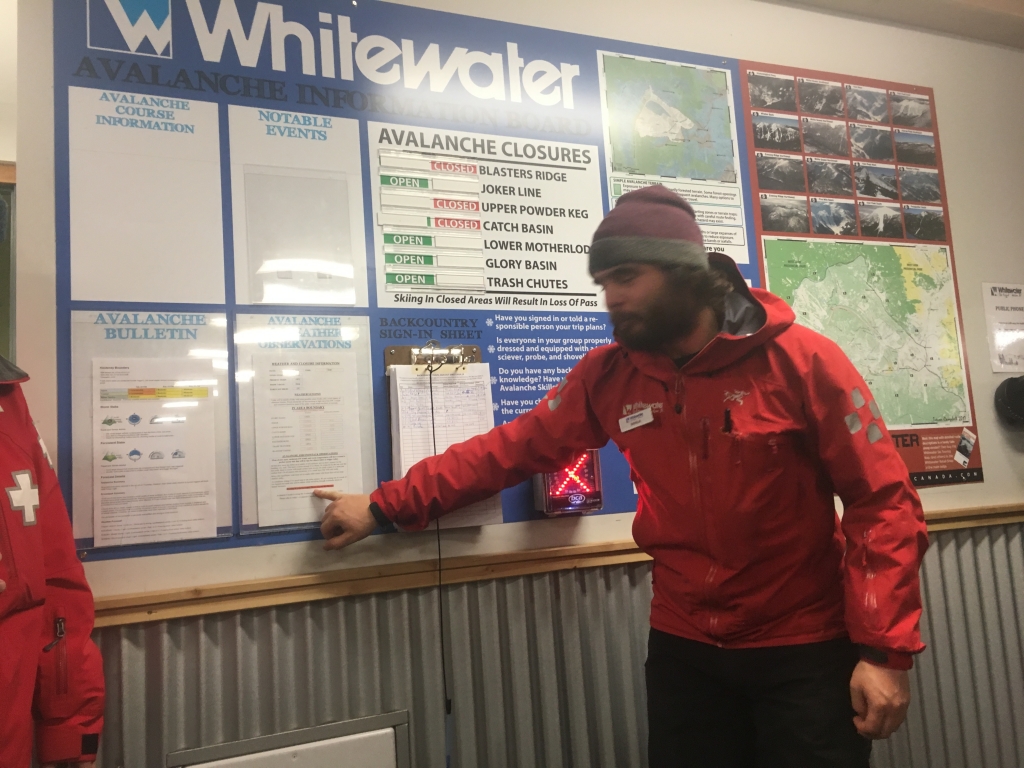
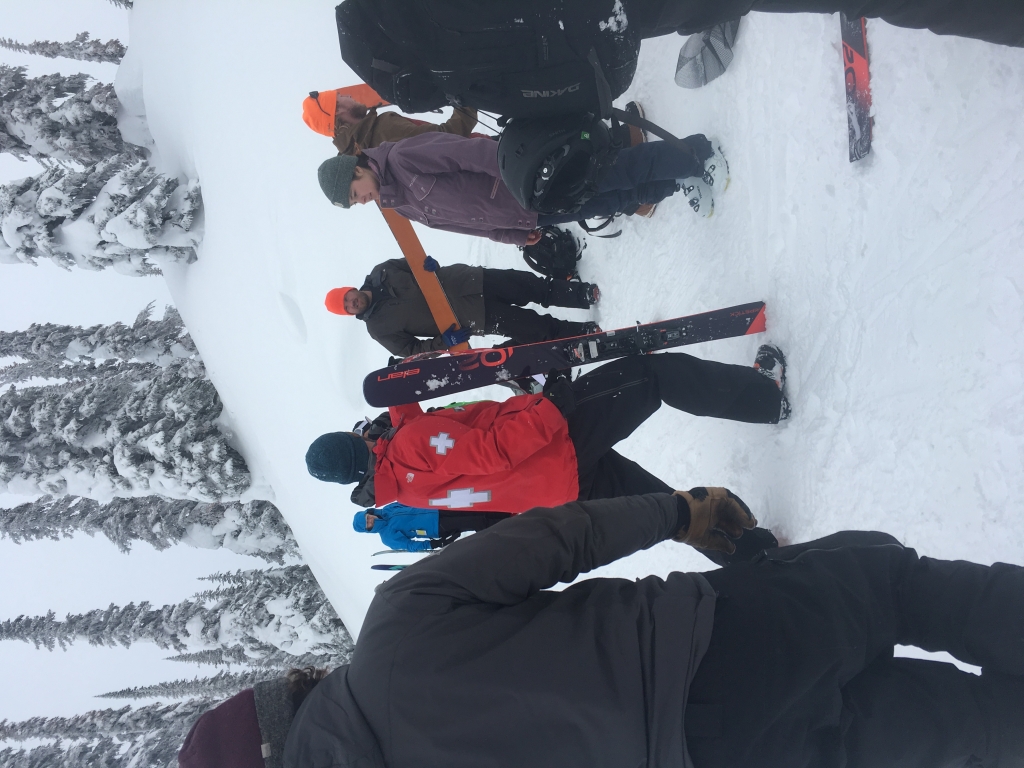
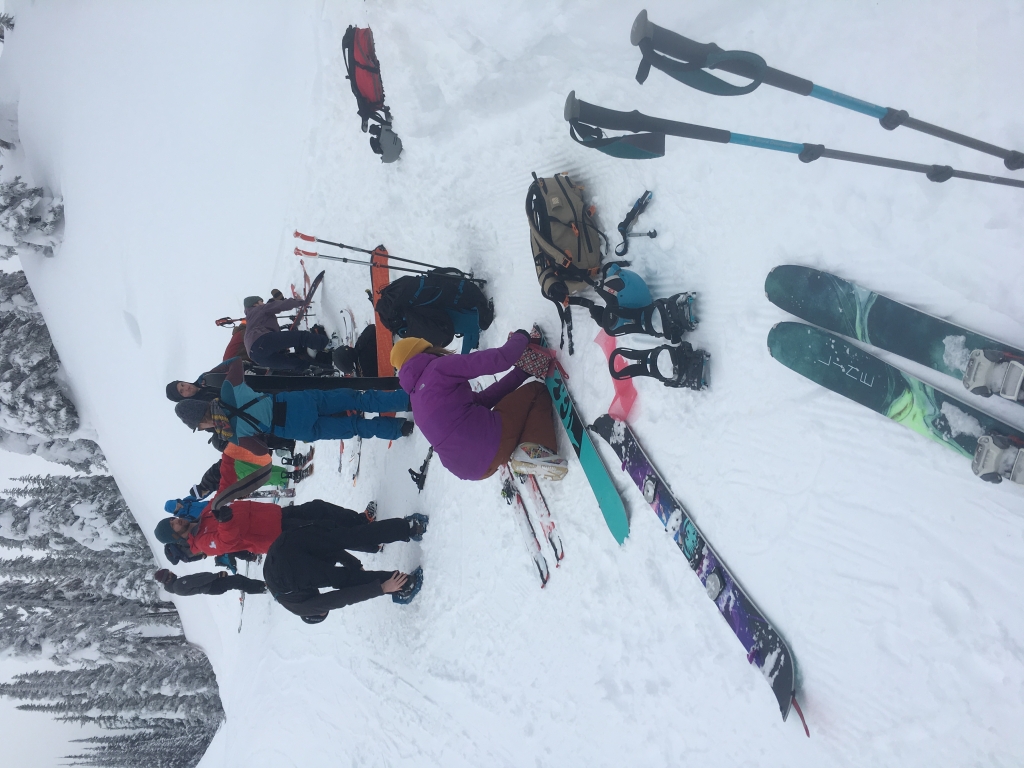
10:15 – Met at H2O Avalanche bulletin board and reviewed the sign in/out sheet, the resort specific avi bulletin, and tested beacons.

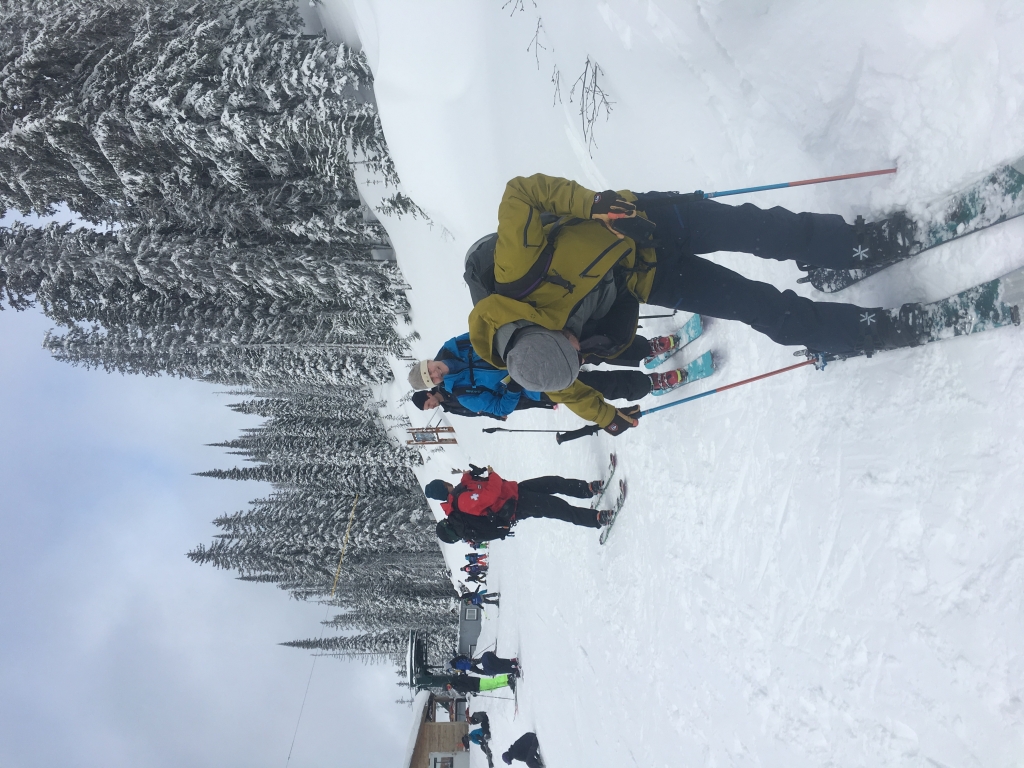
10:50 – At Silver King Skin track, all gear good, beacon checks
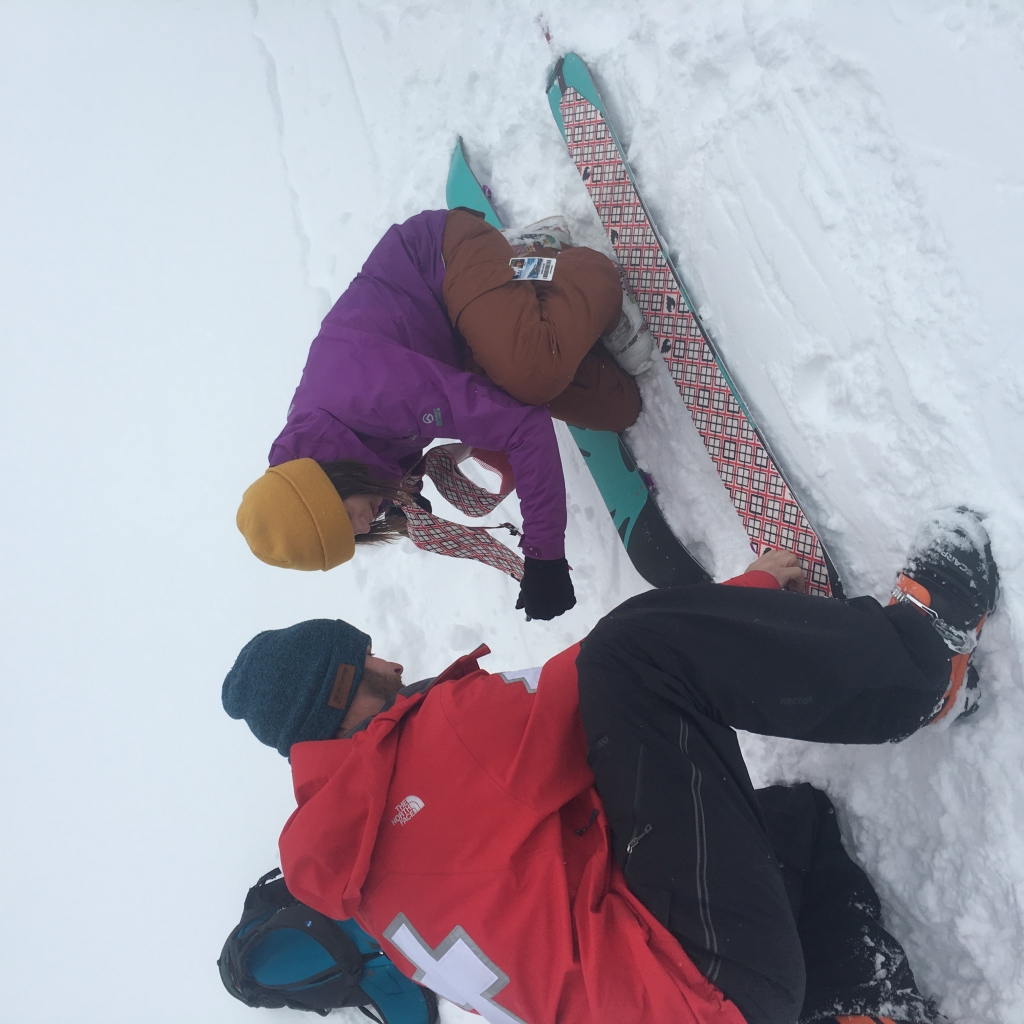
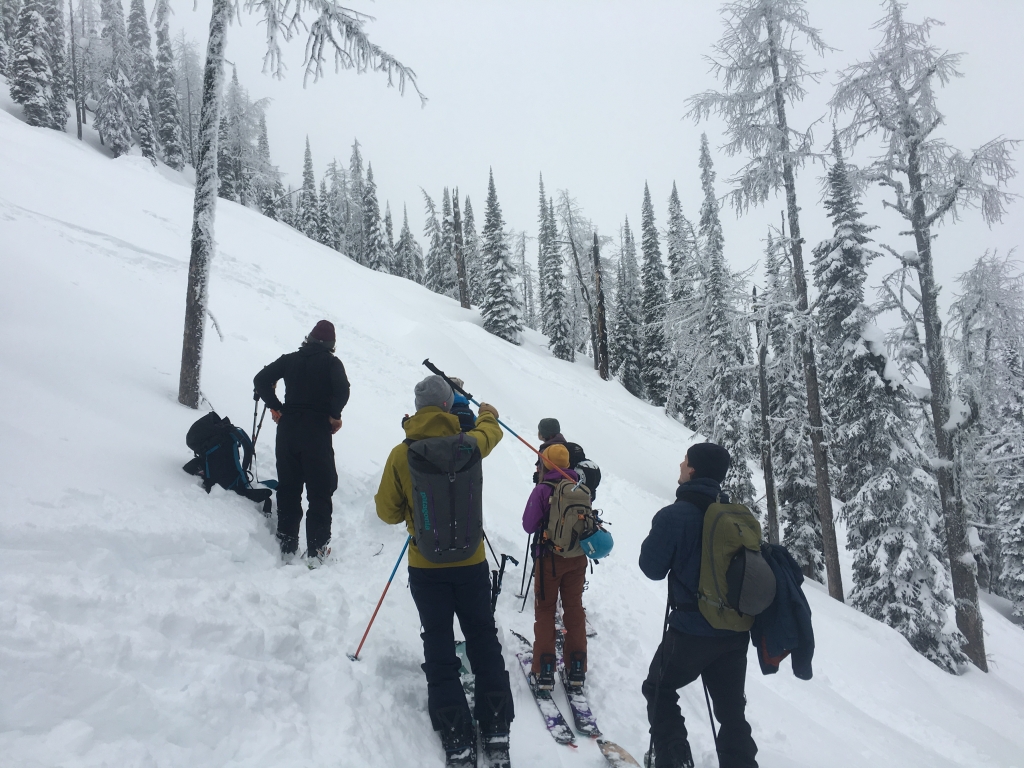
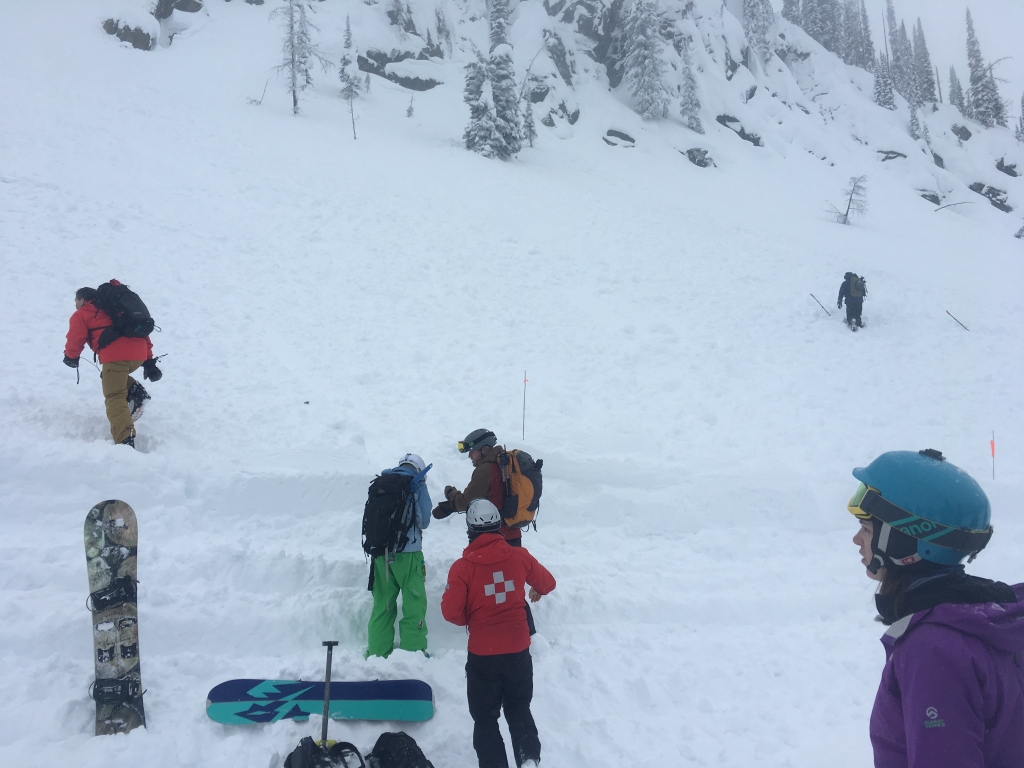
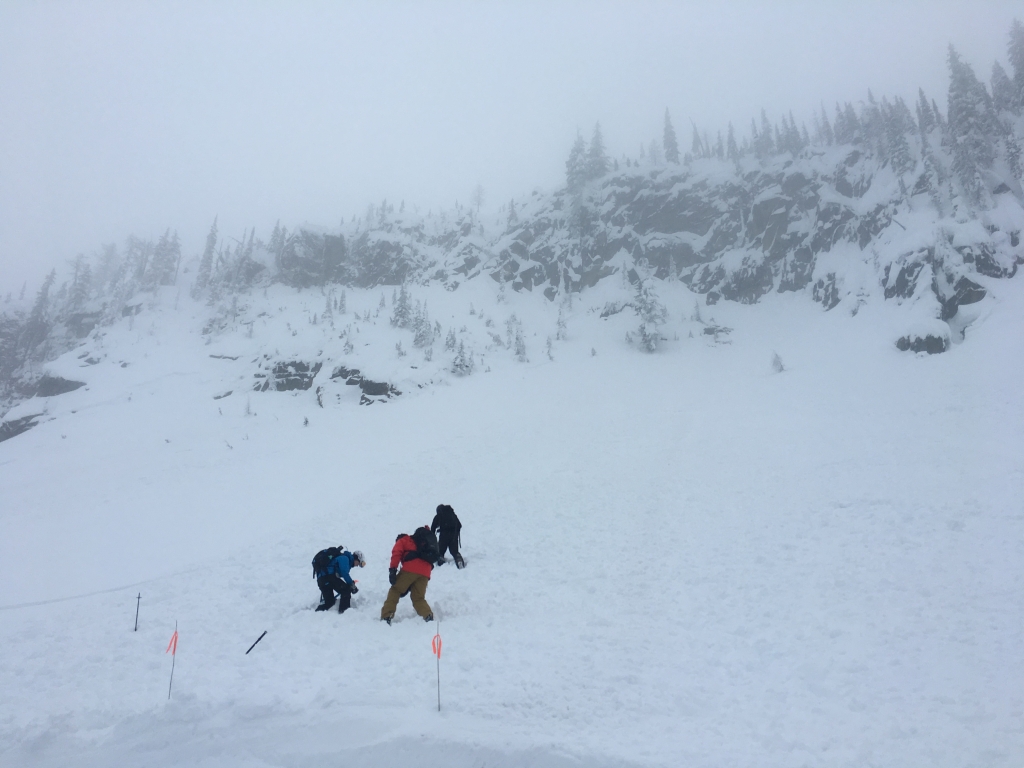
12:30 – Reached the top of Acidophilus on Silver King ridge – lunch, start transceiver/beacon search techniques
1:30 – Transceiver/beacon search practice/mini scenarios
*stay oriented to arrow after 10m!! 10m slow down/ 3m get low
*Probe 90 degrees to the SLOPE angle, use 2 hands, vigorus in a square, spiral pattern
*when to start again: probe out from low point to 2m, run pattern again but slightly off, then re-evelauate with beacon
*yell PROBE STRIKE! – leave probe in place, DIG!
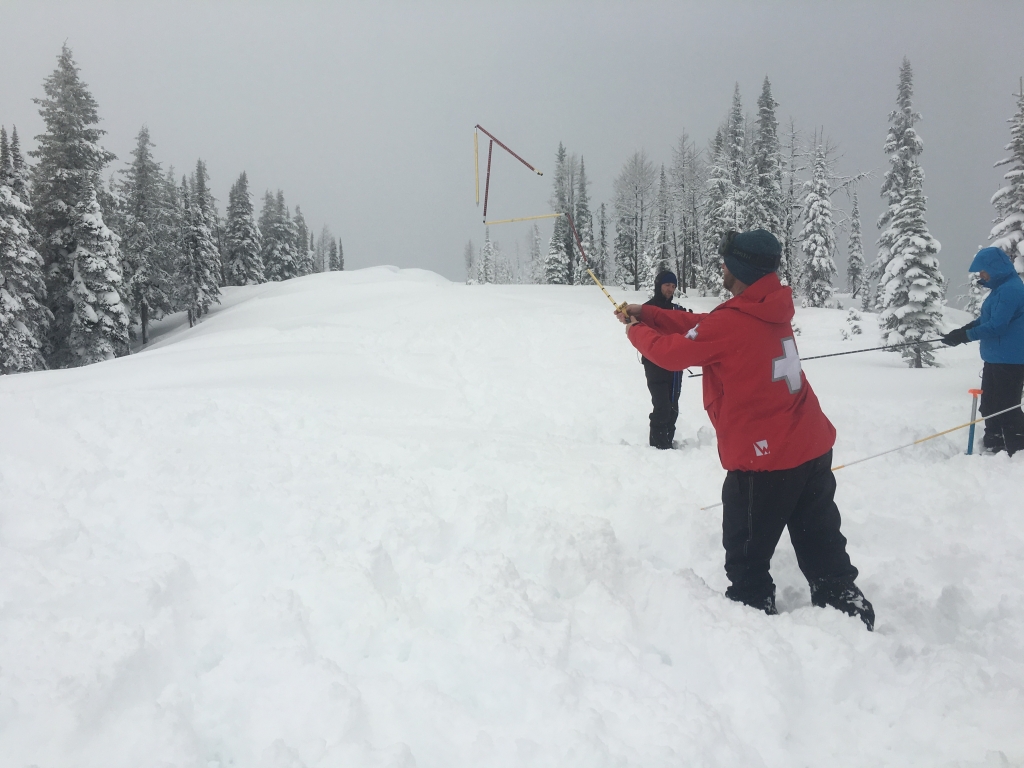
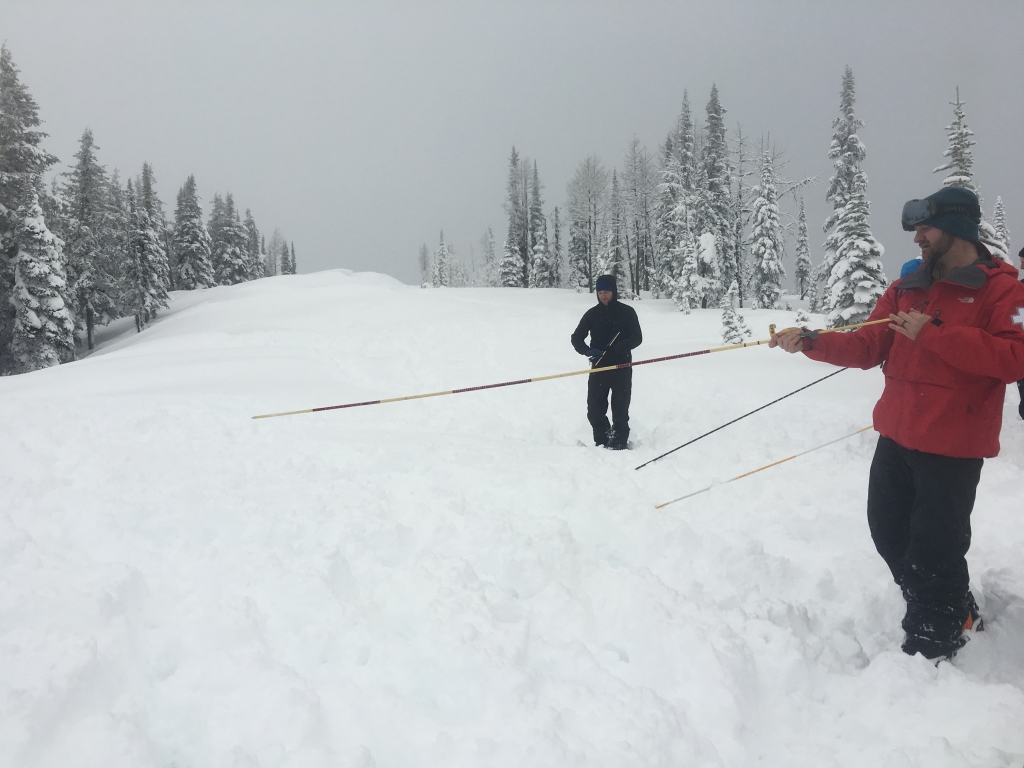

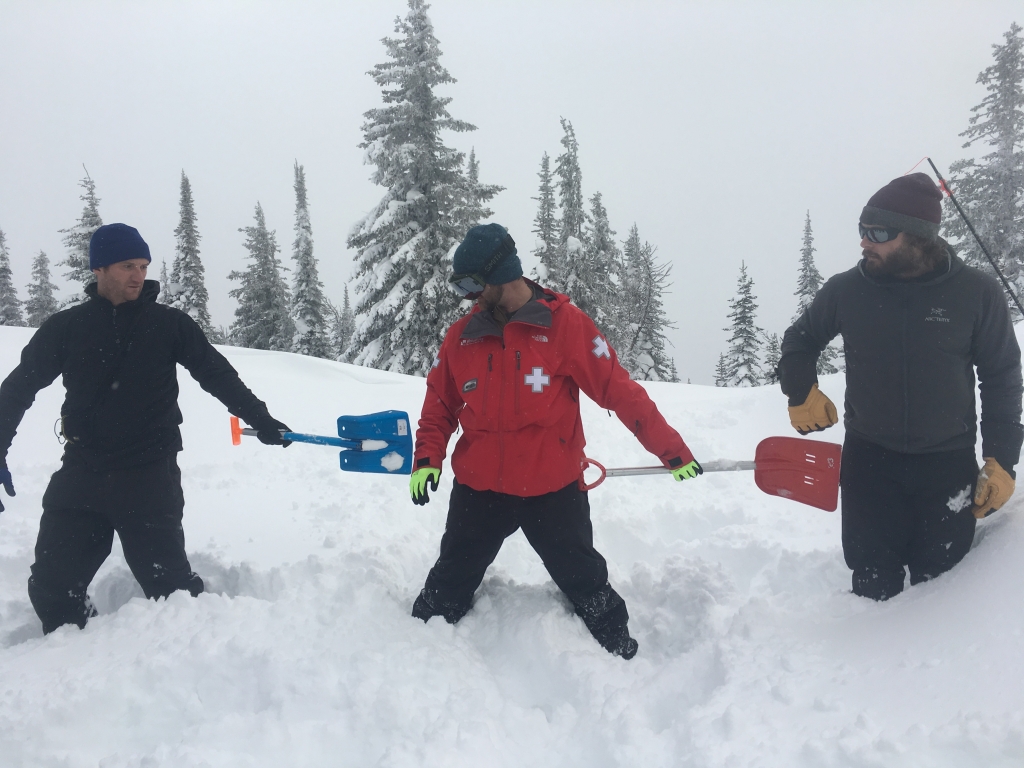
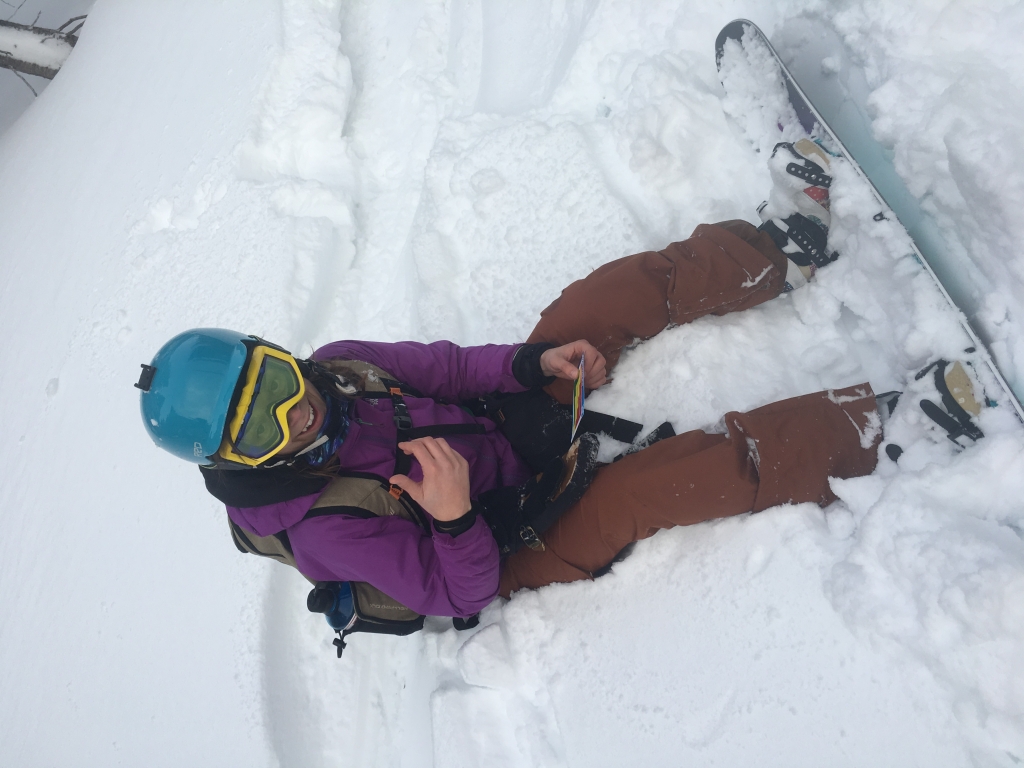
1:50 – beacon + probe + dig out scenarios
3:45 – skied down to lodge, debrief
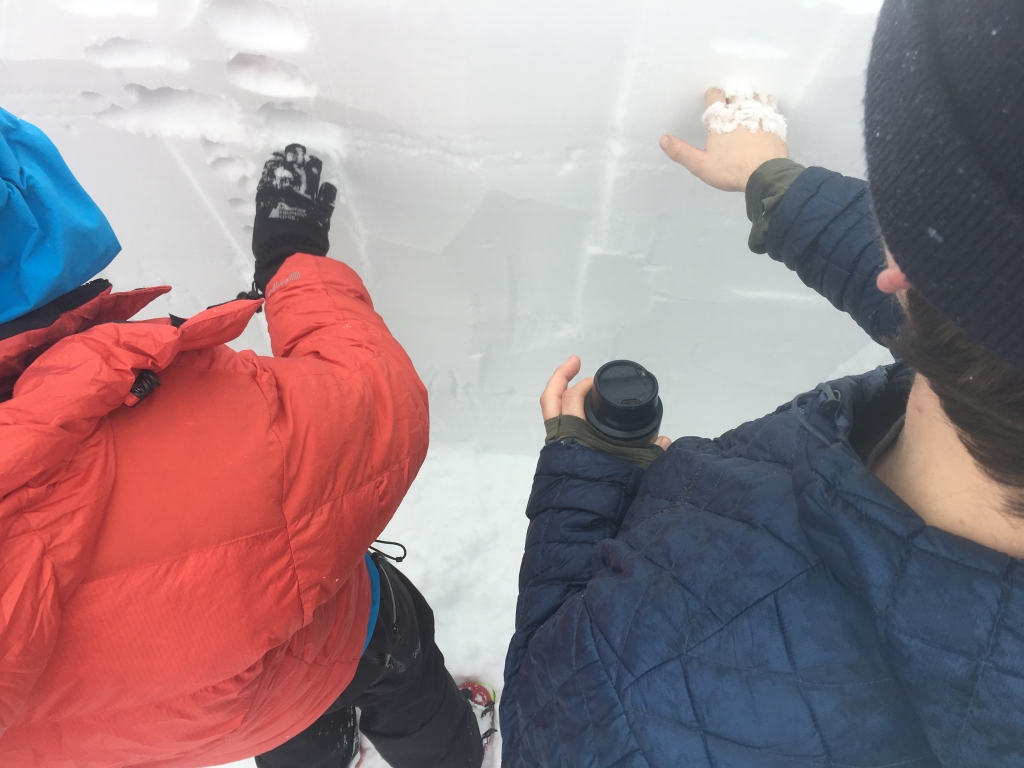
Snow pits only tell you NO, never yes.
Jay
*saw 3 avalanches, predictions matched observations of conditions, in USA the forestry service manages the avi, use compass/mammut app to determine slope angle, need 15-20 days experience now before AST 2
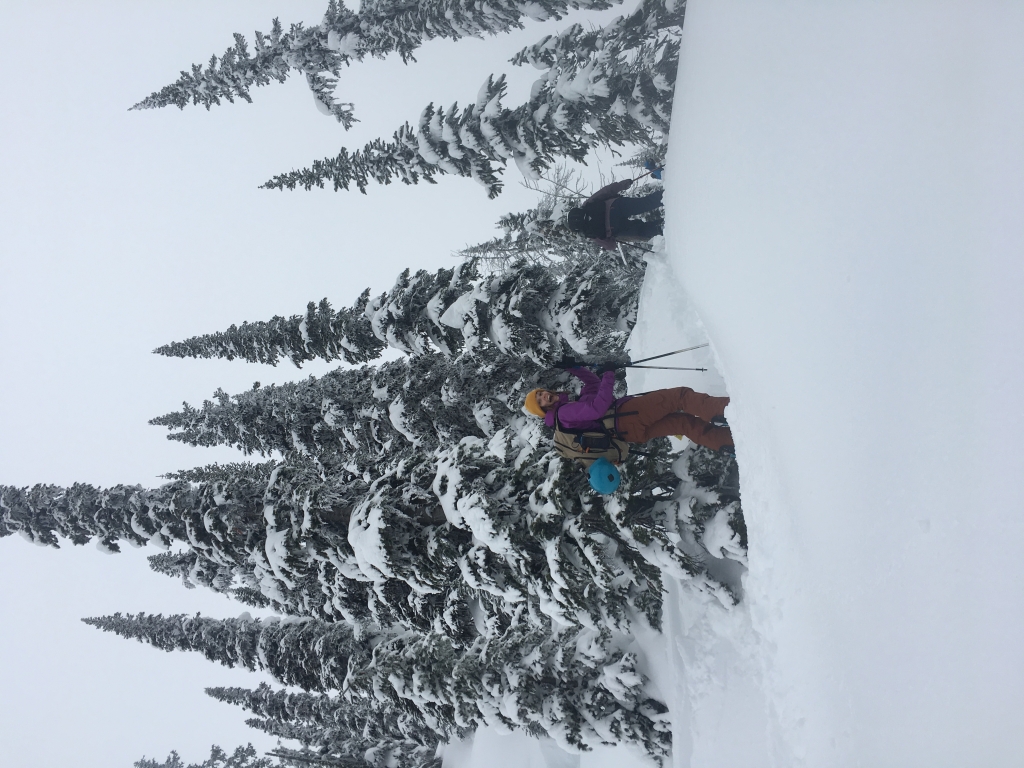
Day 3 – Feb 3
Weather
cloudy, light snow (2-4 cms), NW light, -4C with temps dropping in PM
Bulletin Notes
Simple terrain + below tree line = moderate!
Simple terrain + @ or above tree line = considerable!!
Would you ski this without beacon/probe/shovel? If the answer is no, you should consider not skiing it even with your gear.
Jay
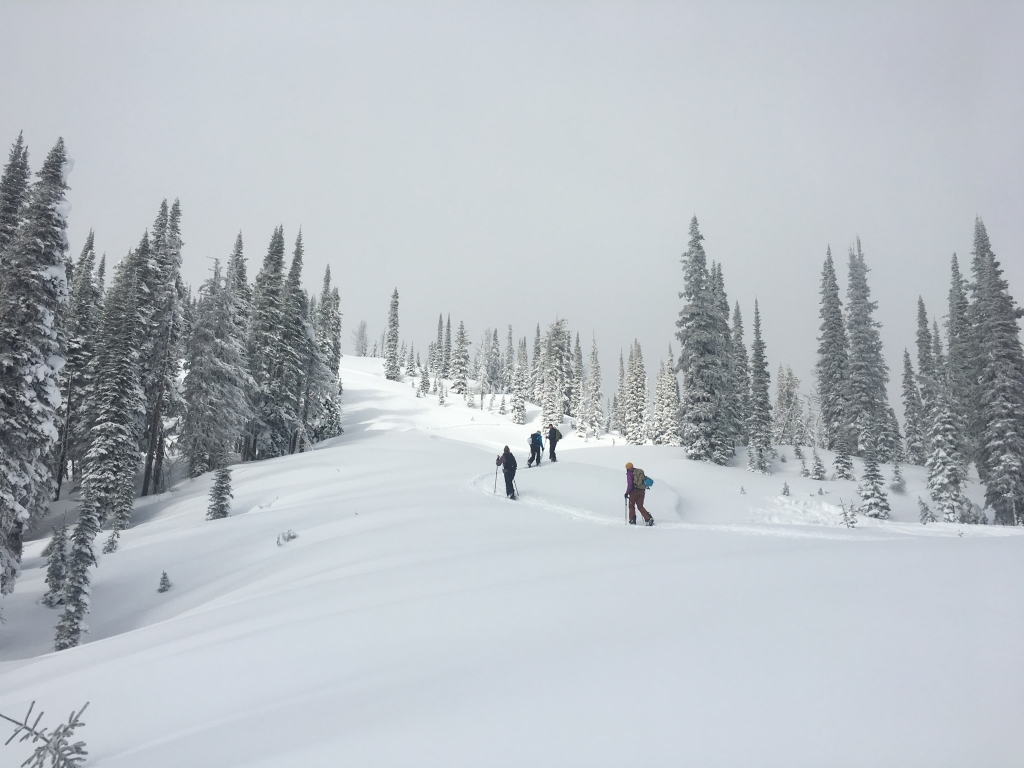
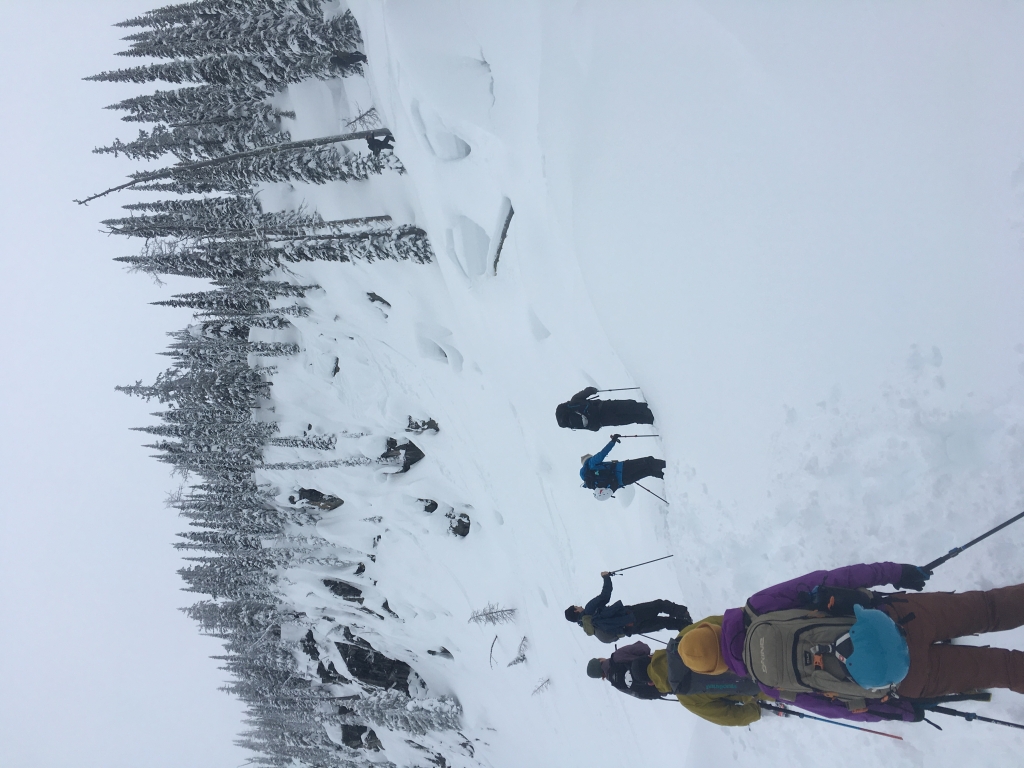
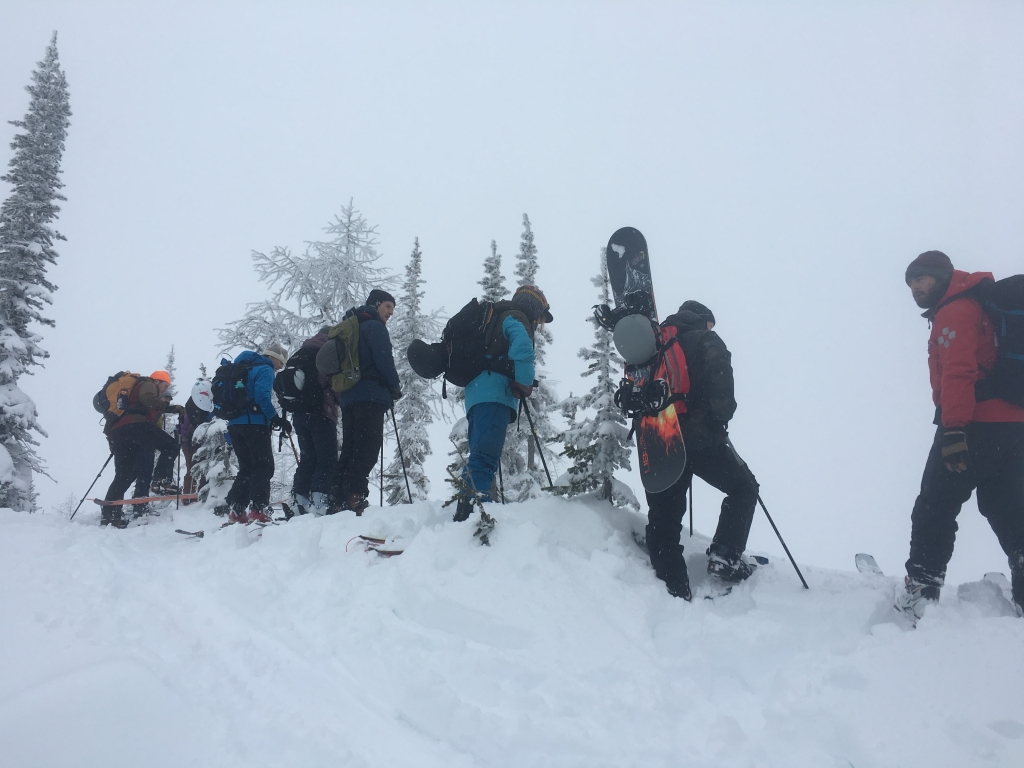
Learning to Backcountry Ski: Route Planning
*watch for convex features and windslab formations
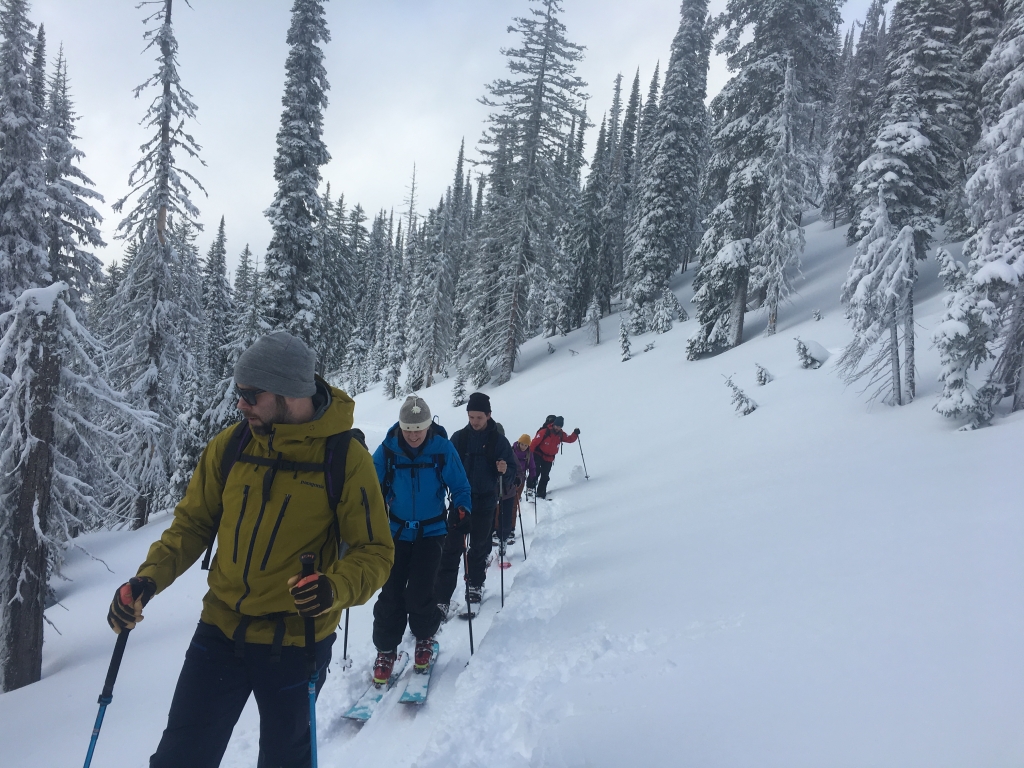
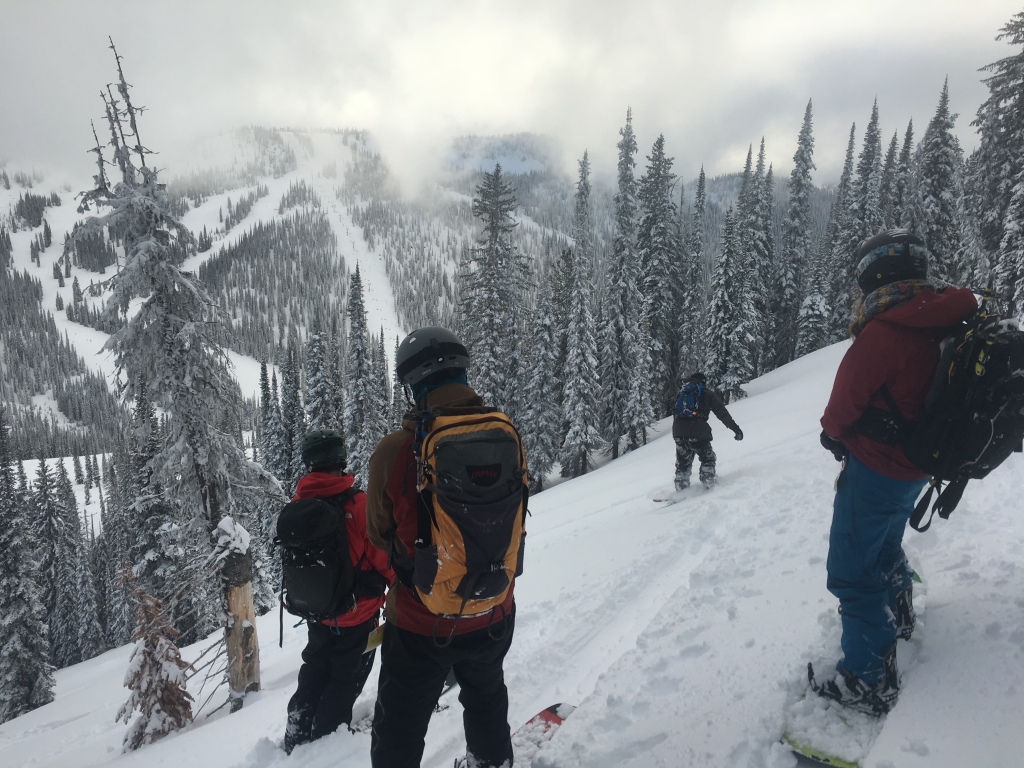
Take Summit Chair and climb the ridge above Trash Traverse. Stick to SIMPLE terrain @ tree line. Ski down the ascent ridge back in bounds.
Day Notes
8:30 – meet up, review bulletin, discuss F.A.C.E.T.S (group dynamics) and gear up
10:10 – At Summit Chair, skin up at base of Trash skin route
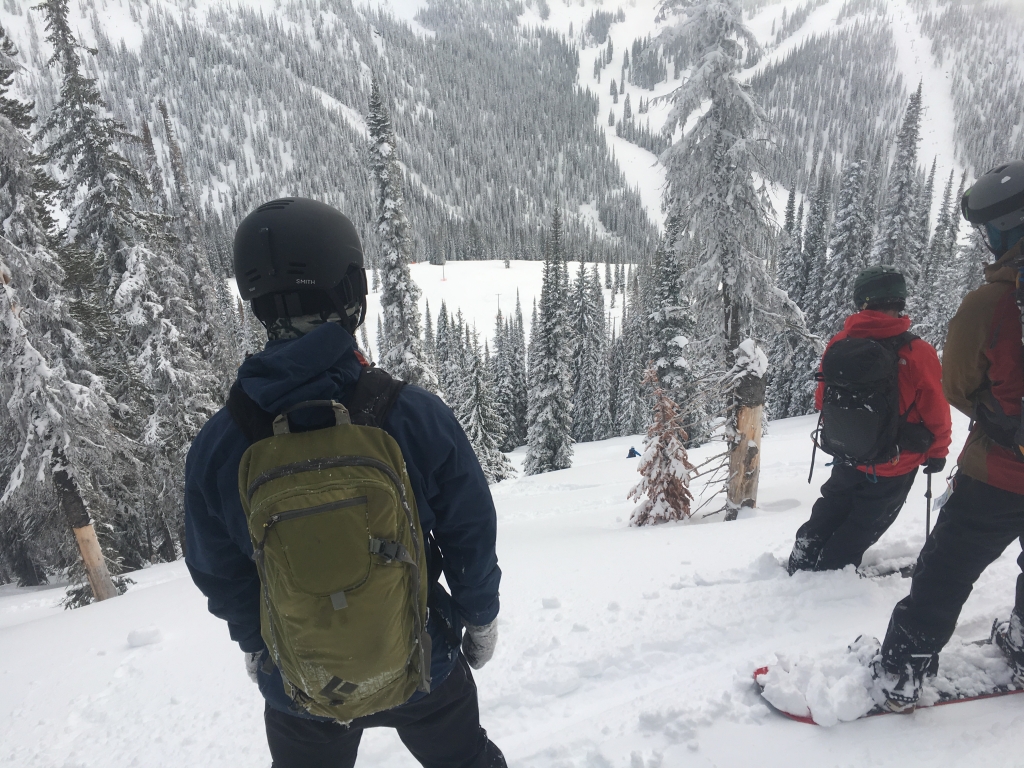
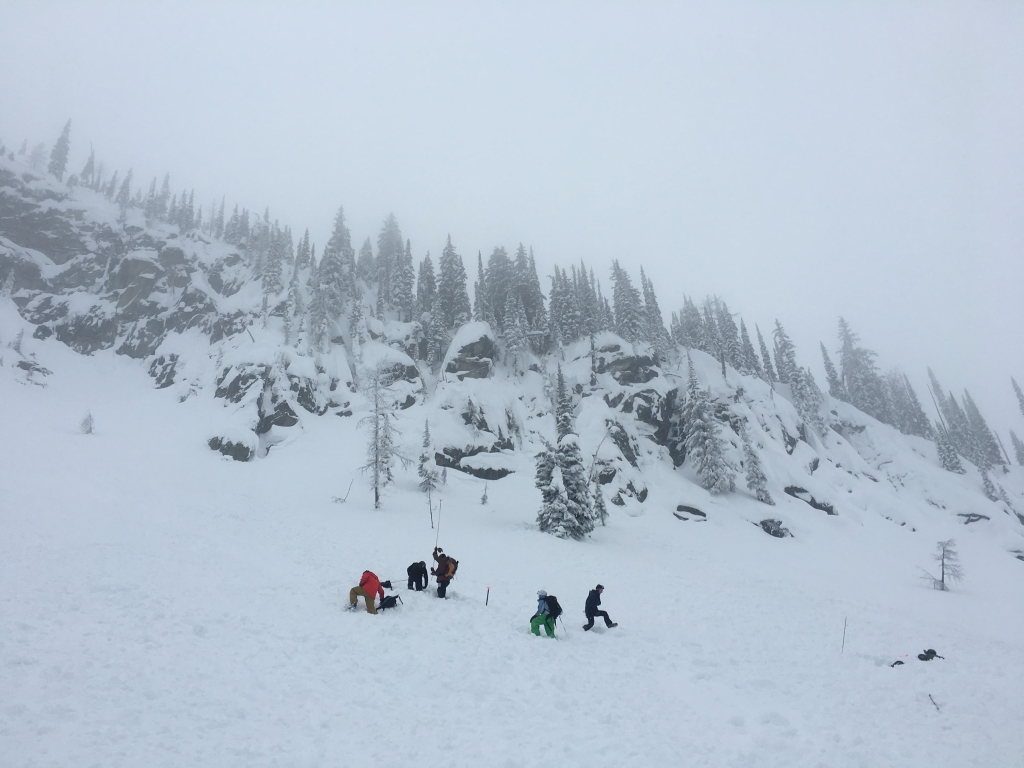
11:40 – At weather station, discussed tree wells (stay calm & move as little as possible, blow whistle/call for help), tree well rescue (ride w/ beacon, dig in from down hill)
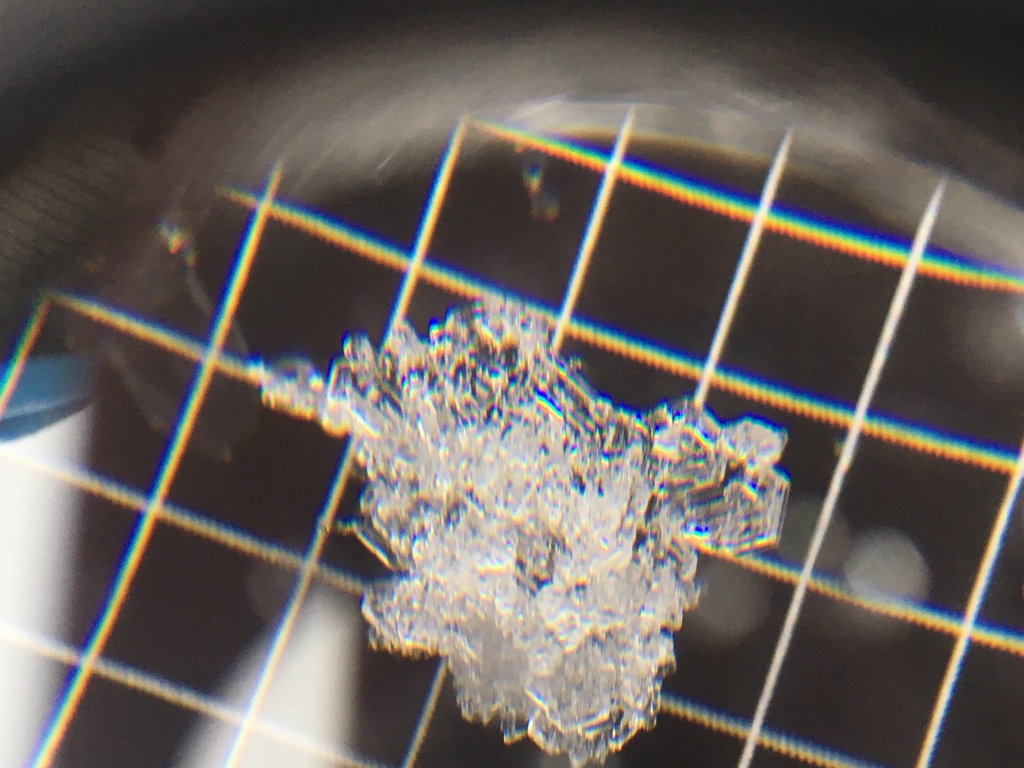
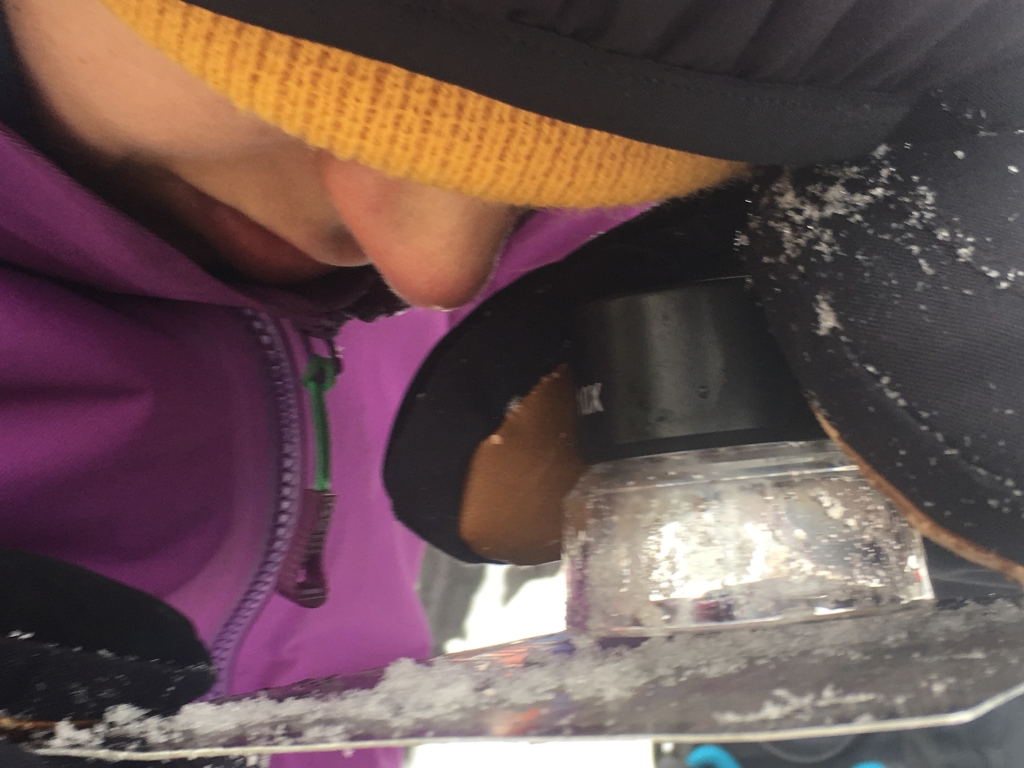
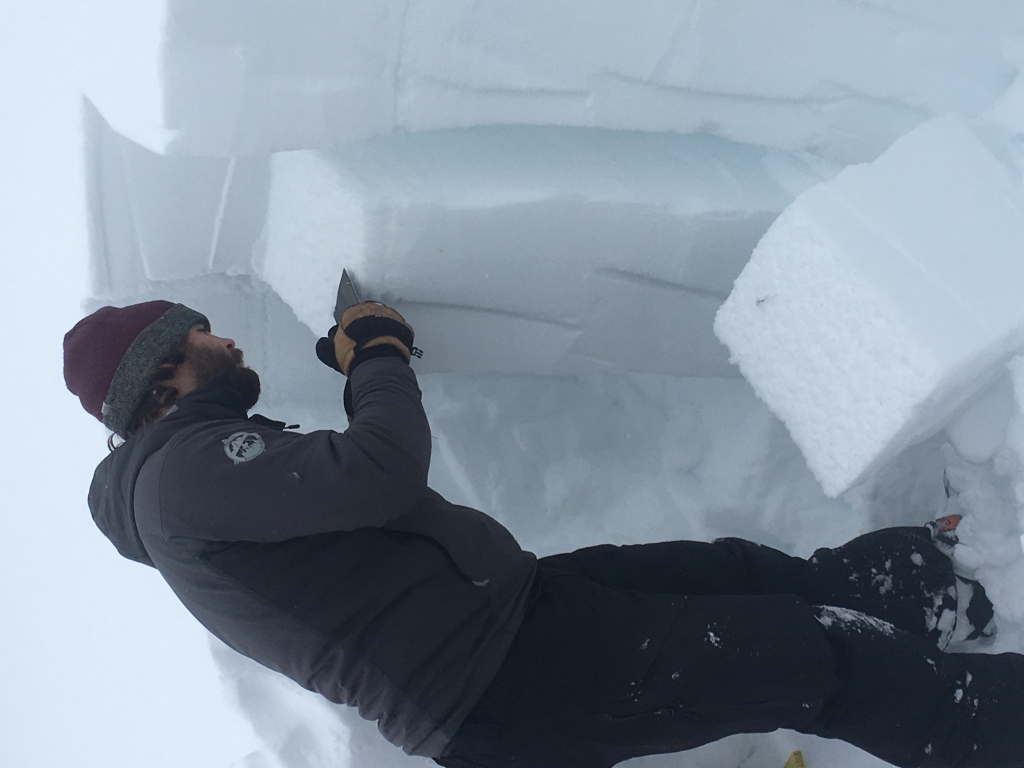
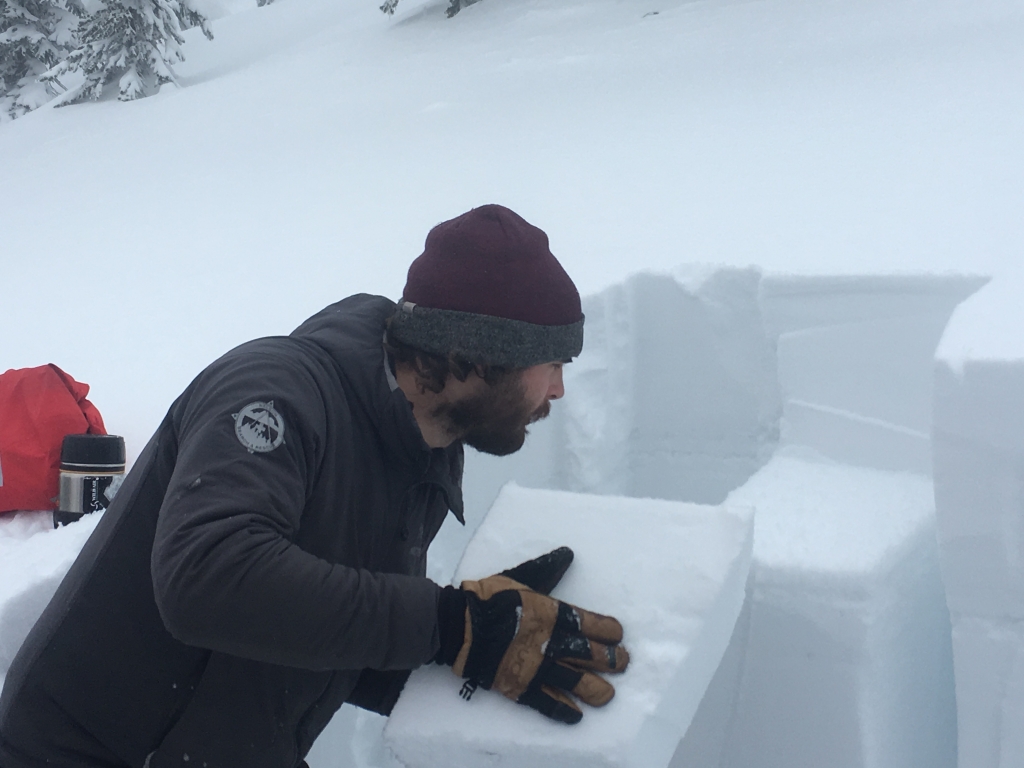
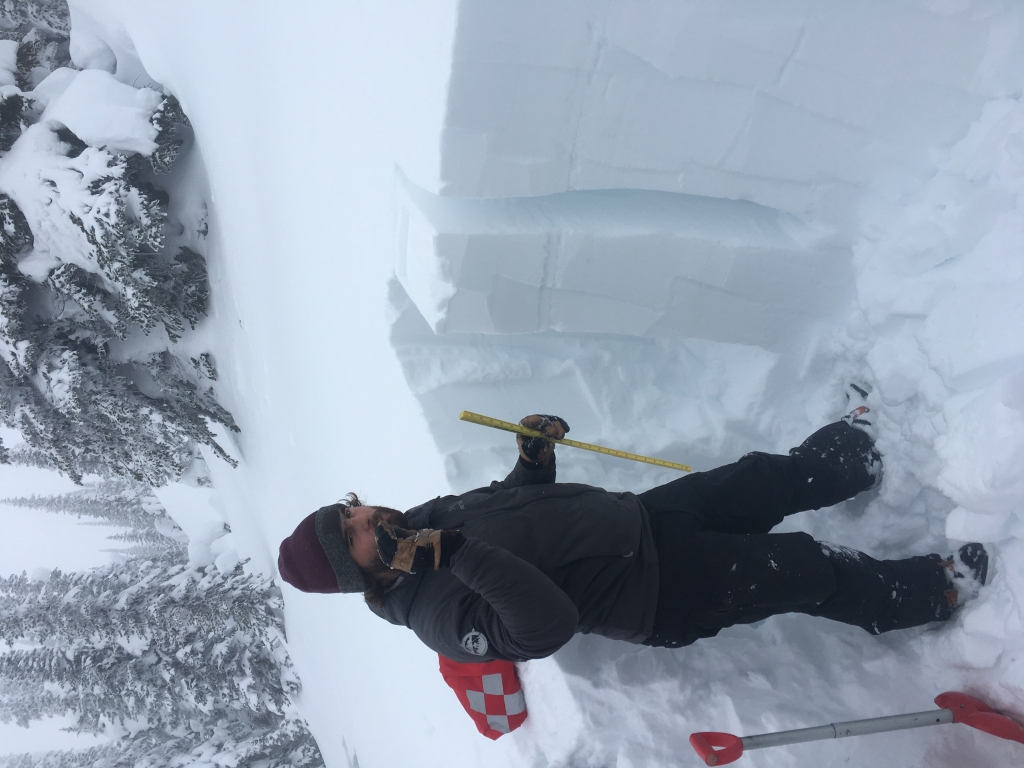
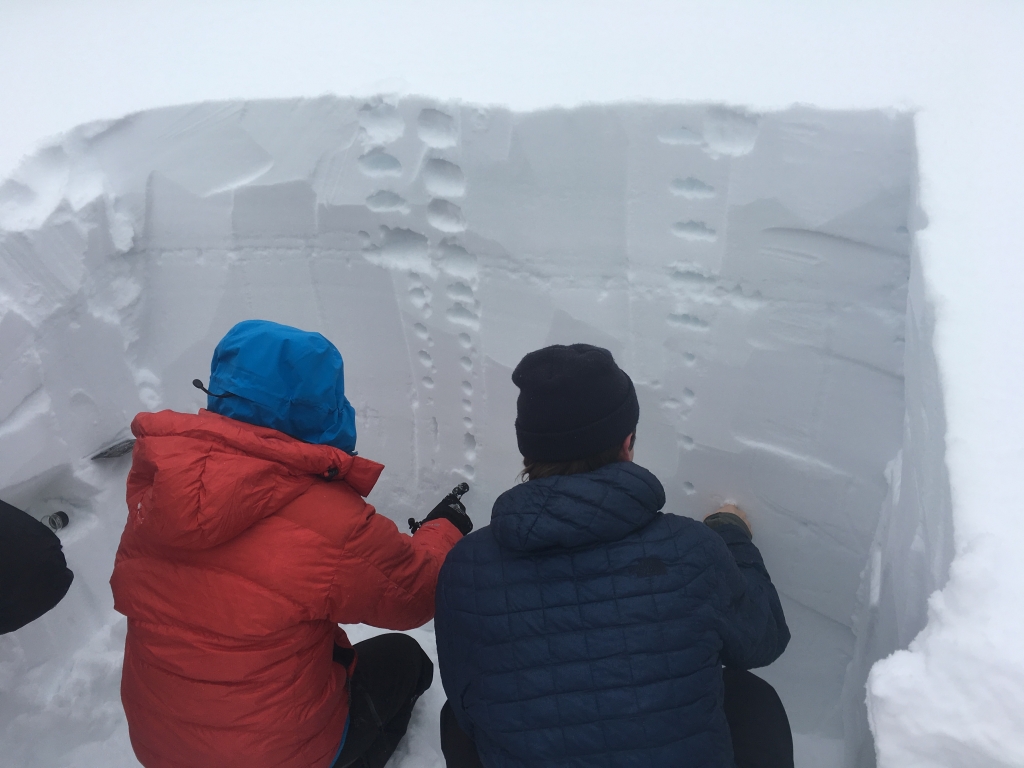

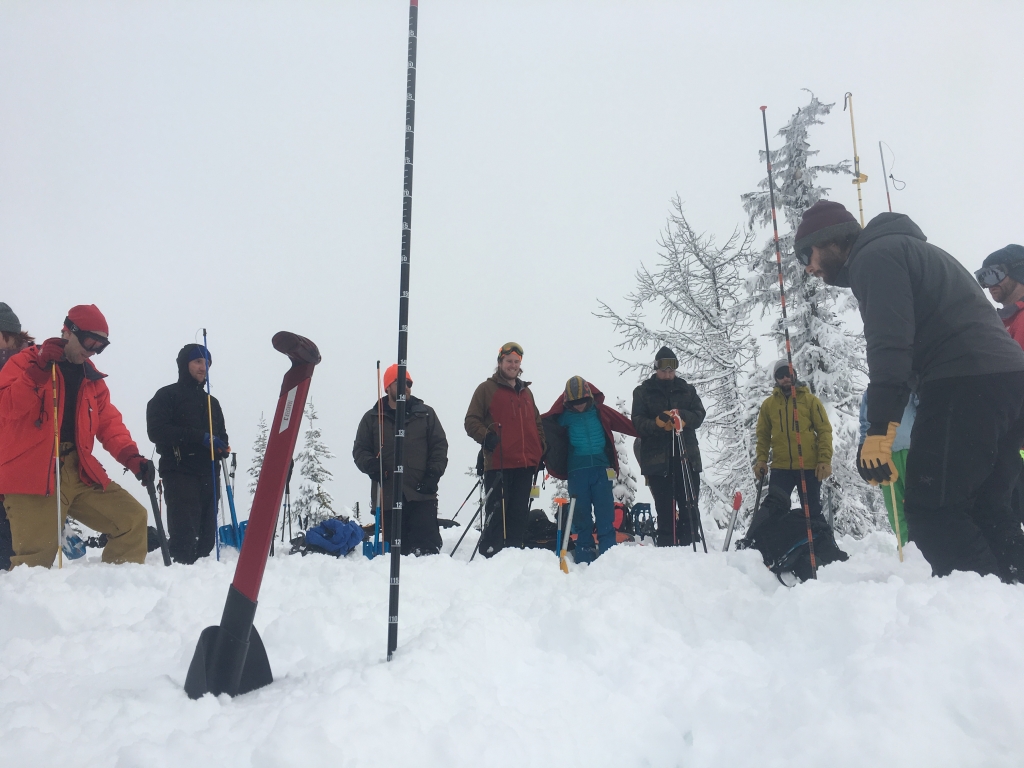
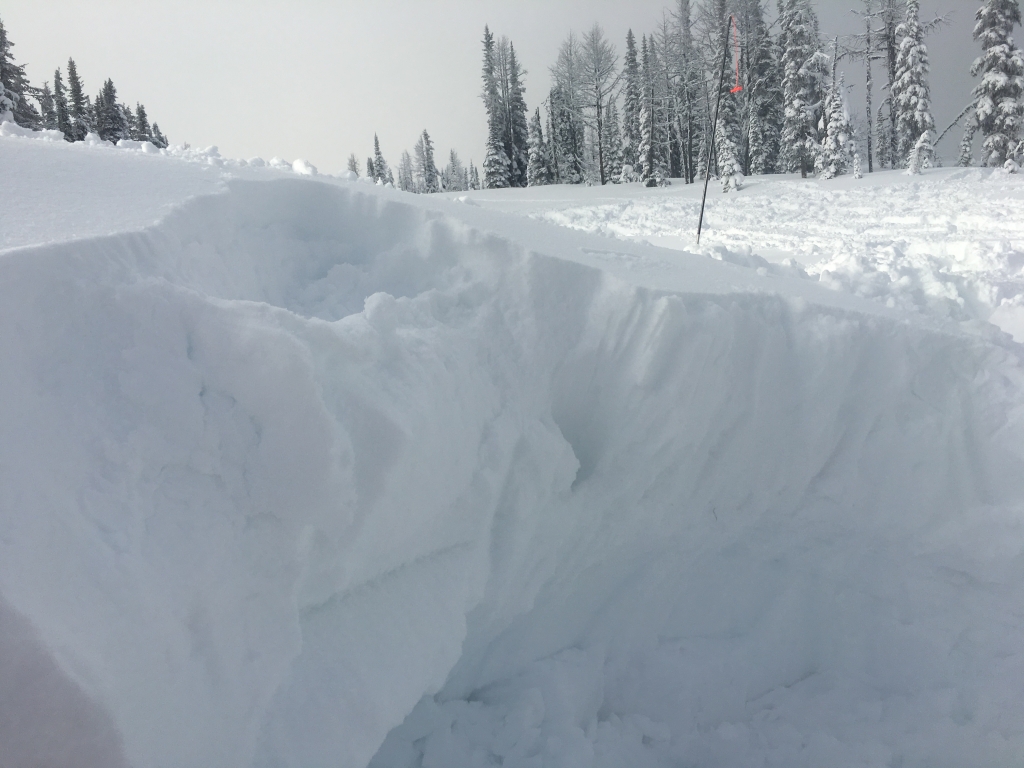
12:30 – lunch & snow pit demo, layer & crystal observation (30cms new snow, 40 cms to weak layer w/ hoar frost), new surface hoar forming
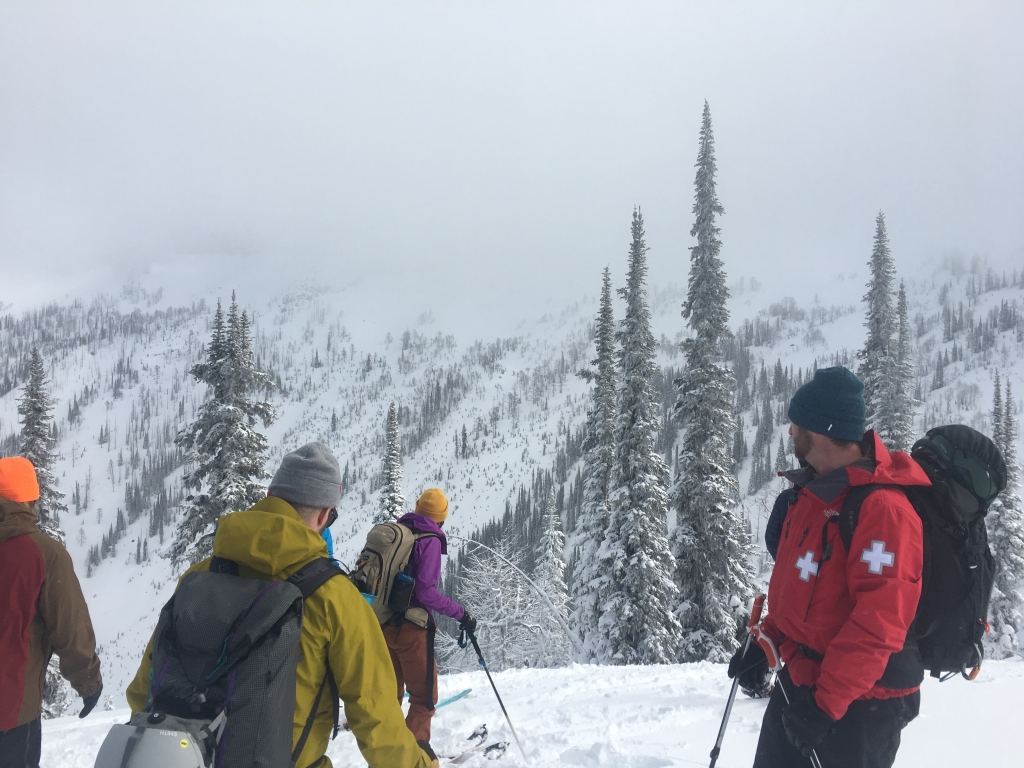
2 – back on resort in yesterday’s avi debris, rescue scenarios (multiple victims)

3:30 – met in lodge, debrief, all enjoyed course
*be sure to ask friend of victim(s) to TURN OFF beacon, treat this person for shock, give them a job
*by 10m, remove skis for fine search
*add 5m webbing to pack for tree well evac
Just because there’s a line there, doesn’t make it safe for the next person to ride.
Douglas
Having done many outdoor training type courses over the last 12 years, it never ceases to amaze me how much more there is too learn. AST 1 at Whitewater is a thoughtfully laid out program, jam packed with updated methods and delivered by active professionals. Being out in the field with Jay and Douglas was invaluable – they provided clear instructions and feedback, answered questions patiently, shared personal tips and experience from years of practice in the very area we were all here to explore.
Click here to read how I got started Backcountry Skiing.
How has AST 1 helped you?
Share your thoughts, feedback and comments below!