

Super easy, regular ski maintenance you can do in your kitchen! Waxing your skis does 2 important things for you;
- maintains your bases – prevents the base material from dying out which helps to avoid delimitation
- helps you glide better – wax helps your skis move smoothly over the various types of snow
You will need the following;
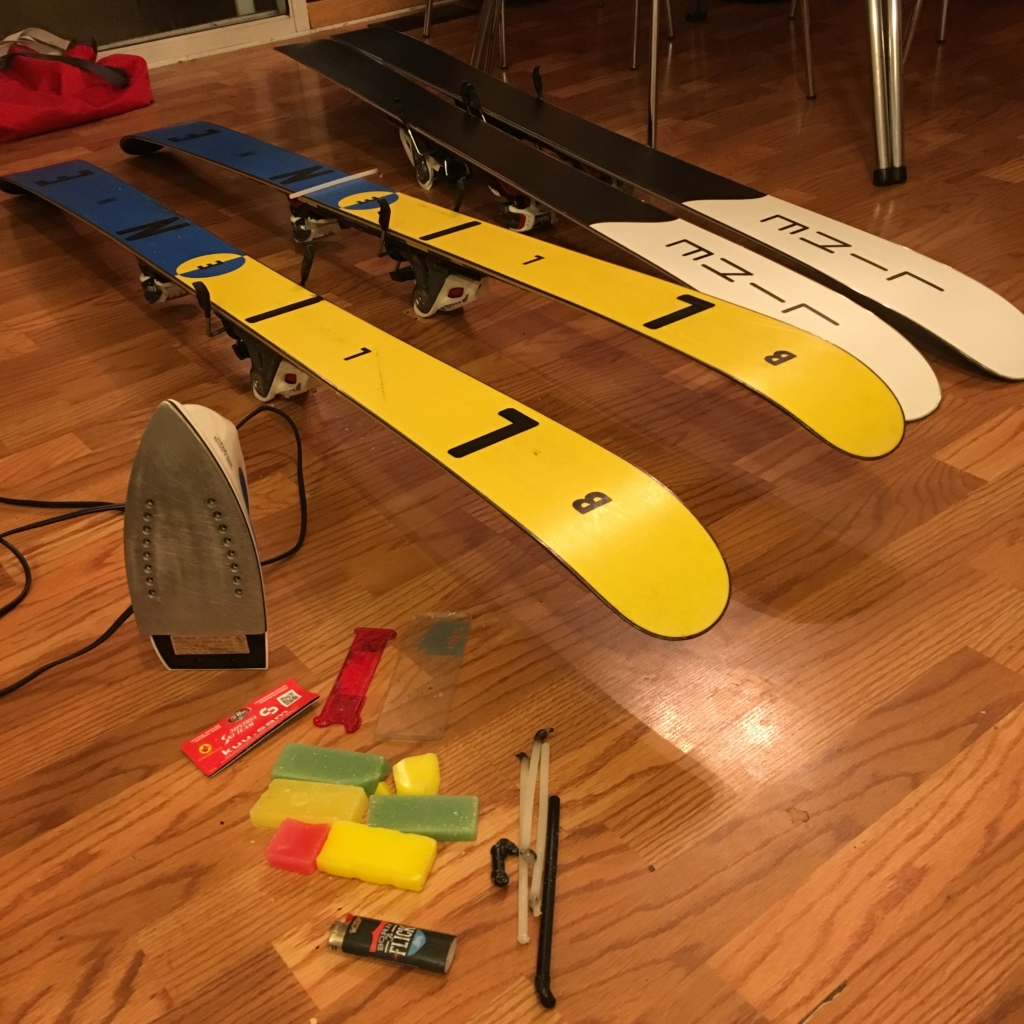
Iron, Wax & Scraper
10 Steps – Wax On, Wax Off
- Bring skis inside to dry and come up to room temperature.
- Scrape any old wax off (if there’s any left!)
- Apply P-tex to any deep gouges and let set.
- Heat your wax iron on low/medium and decide on what temperature wax you should use. We love KUU Hot Wax 3 Temp Pack.
- Use the now heated iron to warm up the base of the ski because this will help the wax bond to the base.
- Touch the wax to the bottom of the iron, allowing the drips to land on the ski base. Start with less, spread it around using the iron and add more as needed. *reminder: you do not want too much because then you have to scrape it off!
- You want even coverage ensuring you get all the way to the metal edges.
- Let cool.
- Use a scraper to remove all the excess wax. Scrape until no more wax comes off.
- Go shred!! (you can clean up when you get home…)
Check out our video below for a step-by-step walk through. Please like and share if you have found this post or video helpful!